First Time Developing Slide Film Without E-6 Chemicals
I have a few expired Kodak Ektachrome EPP100 films that I'm experimenting with.
I don't shoot slide film often so I don't have E-6 chemicals and because I only have a few slide film rolls - it doesn't make sense to buy E-6 chemicals as they would expire before I could develop enough rolls to make it worth it.
I could get a lab to develop it but I don't have one close to me and I'm too lazy to drive to it as I would have to do it twice - once to give the film and once to retrieve it. Also it's boring.
Obviously you can develop slide film using the C-41 process. People call it cross process. You get some wacky colors and crazy contrast. It might be fun but I wanted slides to end up as slides / positives. Doing the C-41 process would give you negatives...and the wacky colors.
You can also develop with black and white chemicals and get some black and white negatives. That seems boringier than boring.
In the depths of the internet I had found that you can actually develop slide film using black and white developer in combination with the C-41 process and get slides at the very end. You can find many threads about this online but I used one that was very nicely written and the author had experimented quite a lot.
I develop black and white and C-41 film at home so I had everything that I needed to try this.
Step 1: Shoot Film
Film is Kodak Ektachrome 100 Plus Professional ( EPP100 ). My copy expired in 2005 and you can't buy this film new anymore as it's not being made. There's a new Kodak Ektachrome but it's not the same formula.
Because slide film won't tolerate your exposure mistakes as well as black and white or C-41 film would it's recommended that you use a precise light meter ( or a camera with light meter ) to ensure proper exposure. That's why I chose Leica M3 - camera without a light meter.
Why such a silly choice? I expected certain shifts to happen anyway so some exposure mistakes likely wouldn't matter as more mistakes would be made during the development process.
I did use a light meter through my phone for most of the shots so it wasn't fully Sunny16. It's probably not as precise as a good light meter or even camera with a built in light meter but it has served me well in the past.
Next was to choose a shooting subject. I didn't want to shoot anything that I would care much about as realistically I expected the results to be poor. That's why I used it as a shoot-anything-whenever film. Things around the house. Small trips. Just ordinary secondary or tertiary camera stuff.
After the shooting process was completed I marinated film in the closet for about a month. Partly because I still wasn't sure whether I wanted to go through this process and partly because I wanted to forget the shots that were on this film in case results look bad or don't turn out at all.
Step 2: Develop Film
I got some free time during christmas holidays so decided that it's now or never.
This development process is quite long and involves many steps to complete. At least when compared to the regular black and white or C-41 development process. I have never done native E-6 process but I doubt that it's as involved.
Here's the process I followed:
- Load film into development tank. I have a Paterson Two Reel Tank. I loaded one reel and placed only this one reel into the tank. The other one was left outside - you'll learn why later.
- Get the chemicals. For black and white developer I used Kodak HC-110. It was one of the most mentioned developers whilst researching this process and luckily also one of the developers that I have. You could probably use a different one but times and dilutions will likely need to change. For C-41 I have a Tetenal Colortec C-41 kit. I don't think it matters which kit you use as long as it's not expired or used up ( you can use those too but times would likely change ).
- Preheat all chemicals for roughly 38 degrees celsius. Roughly because I don't have a way to keep a consistent temperature. I use water that's way hotter than 38 to heat up chemicals and then a few degrees warmer to keep it at roughly that temperature. Why warmer than 38? Because it continuously cools down and whilst developing it cools down even more because of the agitation and stuff. If you have something like sous-vide that can keep a consistent temperature then just use 38 degrees everywhere during this process and don't follow my temperature mixing shenanigans.
- Presoak the film for about 2 minutes to get the tank and temperature to 38 degrees. I used water that was about 40 degrees as you will lose some heat by warming the tank and film.
- Mix up your required volume of HC-110 using dilution A ( 1:15 dilution ).
- Develop film in HC-110 for 6 minutes and 30 seconds. In the same 38 degrees - it might seem too hot for black and white development which is typically done in around 20 degrees but slide film loves heat so bring it! I agitated using inversions. 10 inversions at the start and then 4 inversions at the start of every minute. Speed of my inversions was 4 inversions in about 10 seconds.
- Wash the film in water. Try to keep it at the same 38 degrees. I used the water economy wash mode where you fill the tank with water and do 5 inversions. Dump water, refill and do 10 inversions. Dump and refill again and do 20 inversions. Final water dump and film is ( hopefully ) clean.
- Switch off the lights ( it doesn't need to be completely dark - just avoid strong colored lights ) and take the film out of the tank. That's right. Take it out. And then use a natural white light to expose the film. I used a torch from my phone and exposed it pretty close to the film on both sides for about 2 to 3 minutes. I don't really think you can over-expose this step. Just use white light otherwise you could get some color casts in your final results. You should be able to see some black and white negatives on the film. They will likely be quite dense and in low contrast but you should be able to see the pictures.
- Spool the film back into the reel. Spooling wet film into plastic reels is not easy. It's quite hard. I had hoped that the dry reel I left would make it easier and maybe it did but it was still quite difficult to get it fully into the reel. I did have to force it with finger pressure at the end.
- Do another 2 minute presoak to get the tank and film back to roughly 38 degrees.
- Pour in the C-41 developer and follow the times from your kit as if you're doing a 1 step push. Typically you will need to add about 30 seconds to the development time to do a 1 step push. If you've used your C-41 developer a lot then maybe do 45 seconds or so depending on how used up it is. For agitation I continuously inverted the first 10 seconds and then twice every 30 seconds.
- Quick wash after removing C-41 developer. This is optional. I just fill the tank with water and do a few inversions and then dump it all out.
- Do a C-41 blix step but double the time that your kit says. For example if it says to blix for 5 minutes - blix it for 10. If you have bleach and fixer separate then double both bleach and fix times. I had a pretty used up C-41 kit so my blix time was almost 30 minutes. Fun. Typically I follow the same agitation as for C-41 developer but I was not going to do that for 30 minutes so I just inverted 5 or so times every 3-5 minutes. And started with the usual continuous inversions the first 30 seconds.
- Wash the film. I used the water economy mode again. Your film is technically ready but you likely have stabilizer in the C-41 kit so...
- ...pour in the stabilizer and stabilize as per the C-41 kit instructions.
- Take the film out and either cry heavily or gaze your eyes upon the magic that is positives.
- Dry the film as usual. If you cried heavily in the previous step because there were no results on the film then you can skip drying. If you cried because the results were amazing - consider rewashing the film because tears contain salt and if they got onto the film it will leave salt stains after drying.
Step 3: Look At Developed Film
What you hopefully have in your hands are roughly 36 positives. Since this was my first time developing slides I was quite amazed by the results. It matches getting the first developed film negatives ( e.g. black and white ). Seeing pictures as real pictures and not negatives is addicting.
I was also pleasantly impressed by how the results looked. I didn't see any weird color casts and frames looked exposed pretty well considering I wasn't using a light meter apart from one on the phone. It did look a tad under-saturated but Ektachrome EPP100 is not too saturated so it could actually be pretty close to intended colors.
Step 4: Scan
Unless you have a slide projector the next step is likely to scan the film. The ultimate color accuracy test would be to project the slides because scanning will necessarily not be 100% true to slides unless you have a super well calibrated scanner ( which I don't ).
Scanning film was pretty easy. I did have to add a bit of warmness because the default scans looked a bit too cold. Some of the shots were quite cold because it was actually looking quite cold in real life when taking the pictures but scans seemed cooler than they looked on actual film with light from a light box ( also known as iPad ).
Scanning also revealed that exposure was not as good as it could be but I would put this on haphazard light metering instead of the way how film was developed.
Scanning also revealed that whilst many pictures looked quite amazing on film - when scanned and "enlarged" they didn't look quite as good. This is also as expected though because most pictures tend to look better small. That's why pictures on Instagram can be taken with your mom's garden potato and still look good. No blame on the development method again.
The only thing that I noticed that was somewhat worse than proper lab developed E-6 film was the grain. This development method seemed to introduce more grain into the pictures which might not be a bad thing based on your perspective but I don't think it fits so well with slide film which is typically quite clean.
There could be more changes when compared to native E-6 process but to test thoroughly you would have to shoot the same subjects twice and compare.
Ultimately I'm very happy with the results and I think they are quite close to what the E-6 process would end up with.
Resulting Pictures
Here are some pictures from the weirdly processed roll. This slide developing process should have a name. Maybe it already has but I don't know of one. It's kind of a cross process but not really. I will call it "E-B&W-41-6 slide process".
It's not a whole roll because many pictures were quite boring as I didn't try to shoot too many interesting things but I feel like I have to include at least some results.
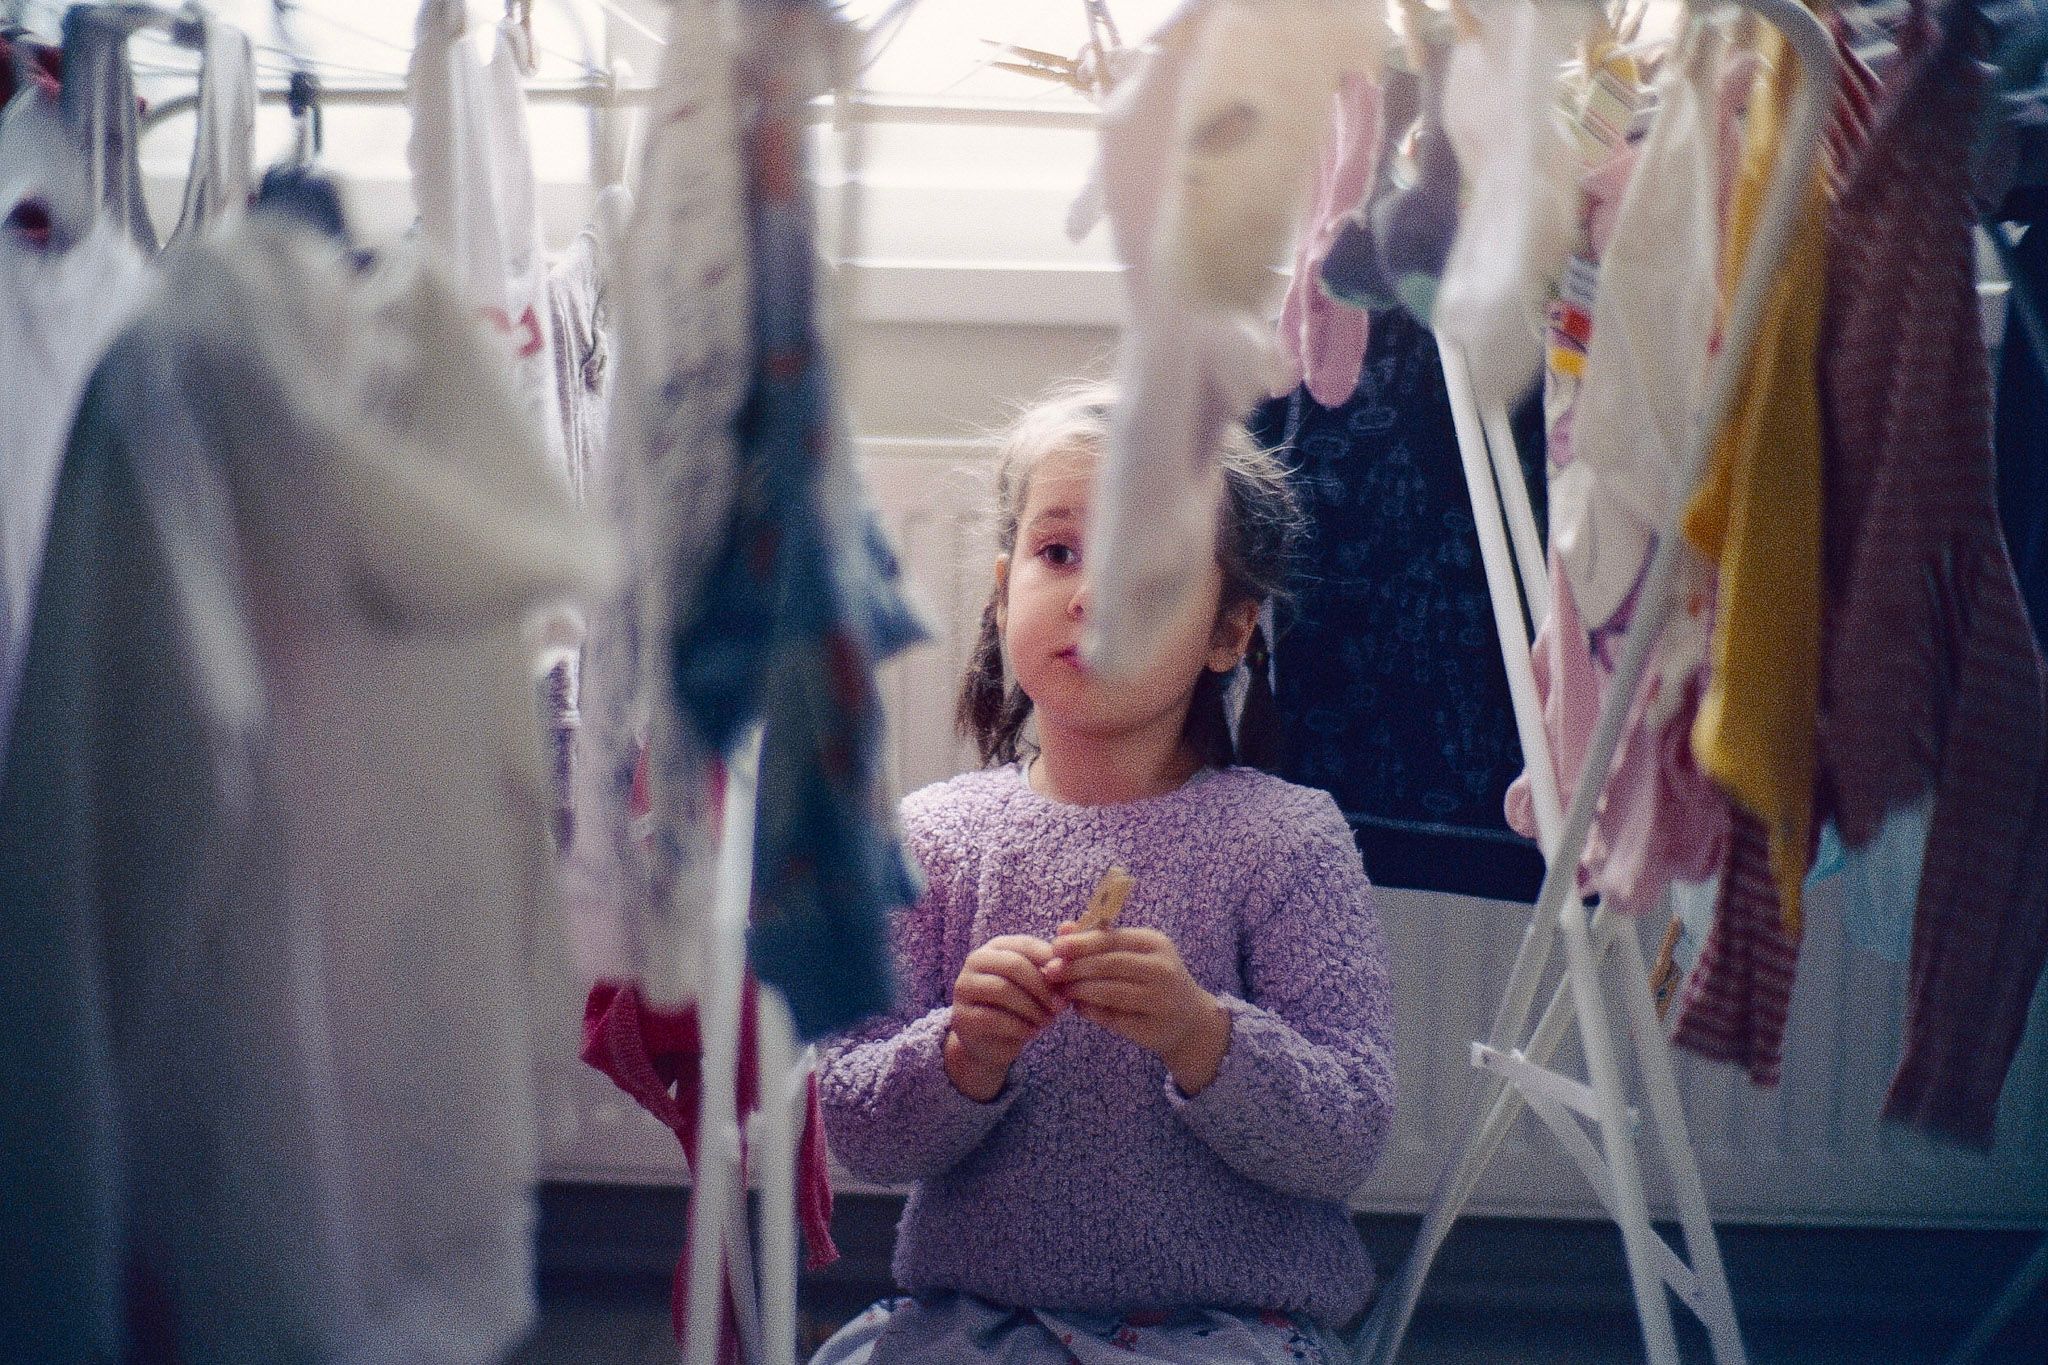
First picture. My daughter keeping an eye on drying clothes.
Colors are very neutral. It was a very neutral, cloudy day so it's accurate.
I call this: Dry Master

Close up the clothes drying. Same place and time as in the previous picture so nothing new to add.
I call this: Get Dried
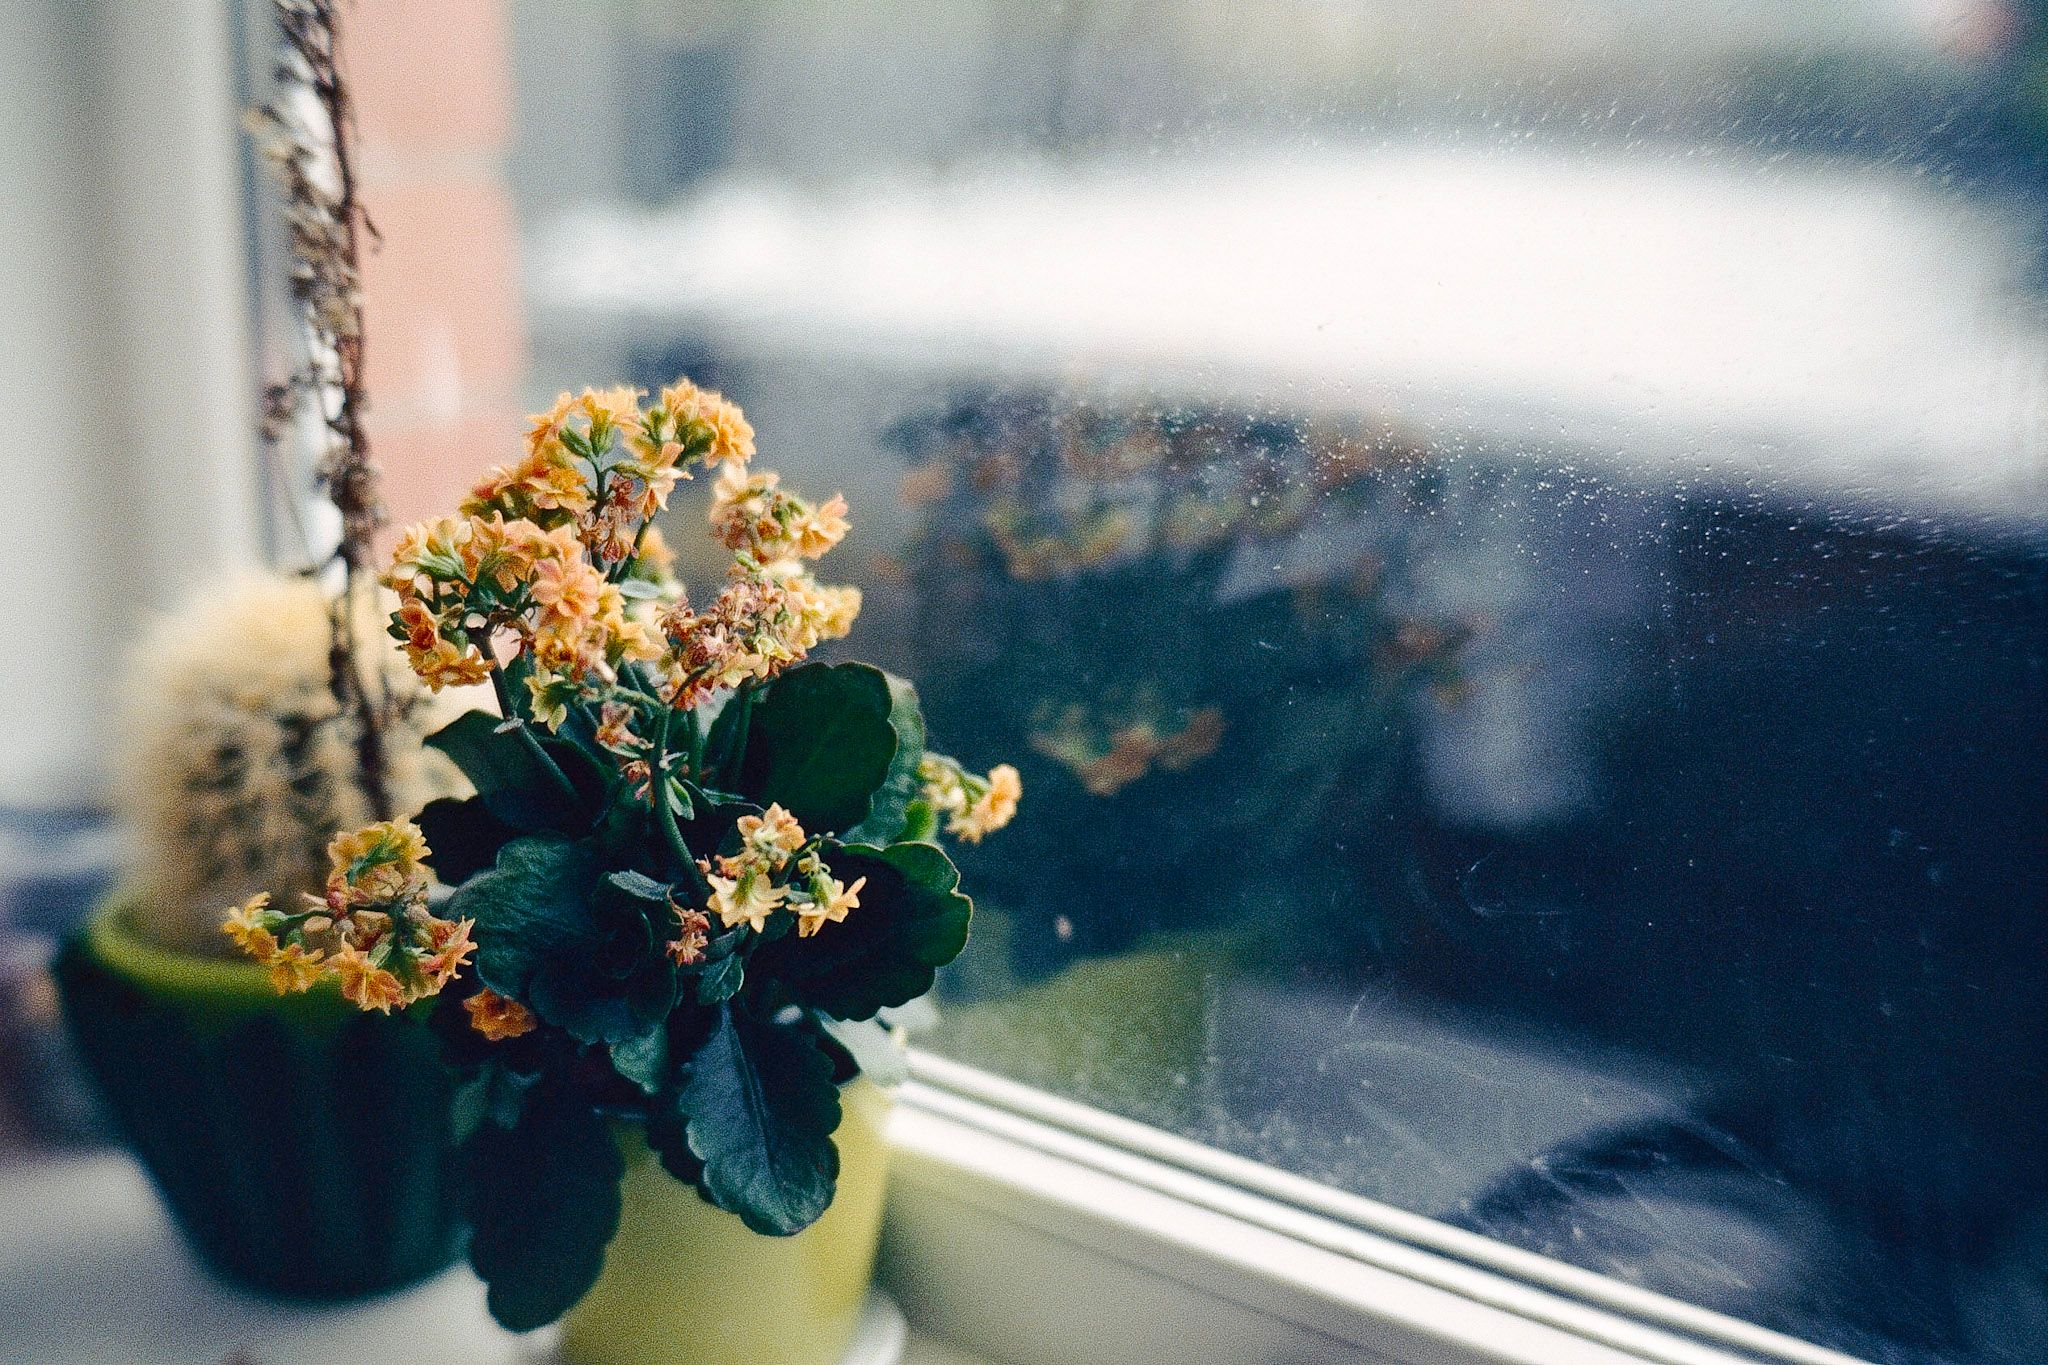
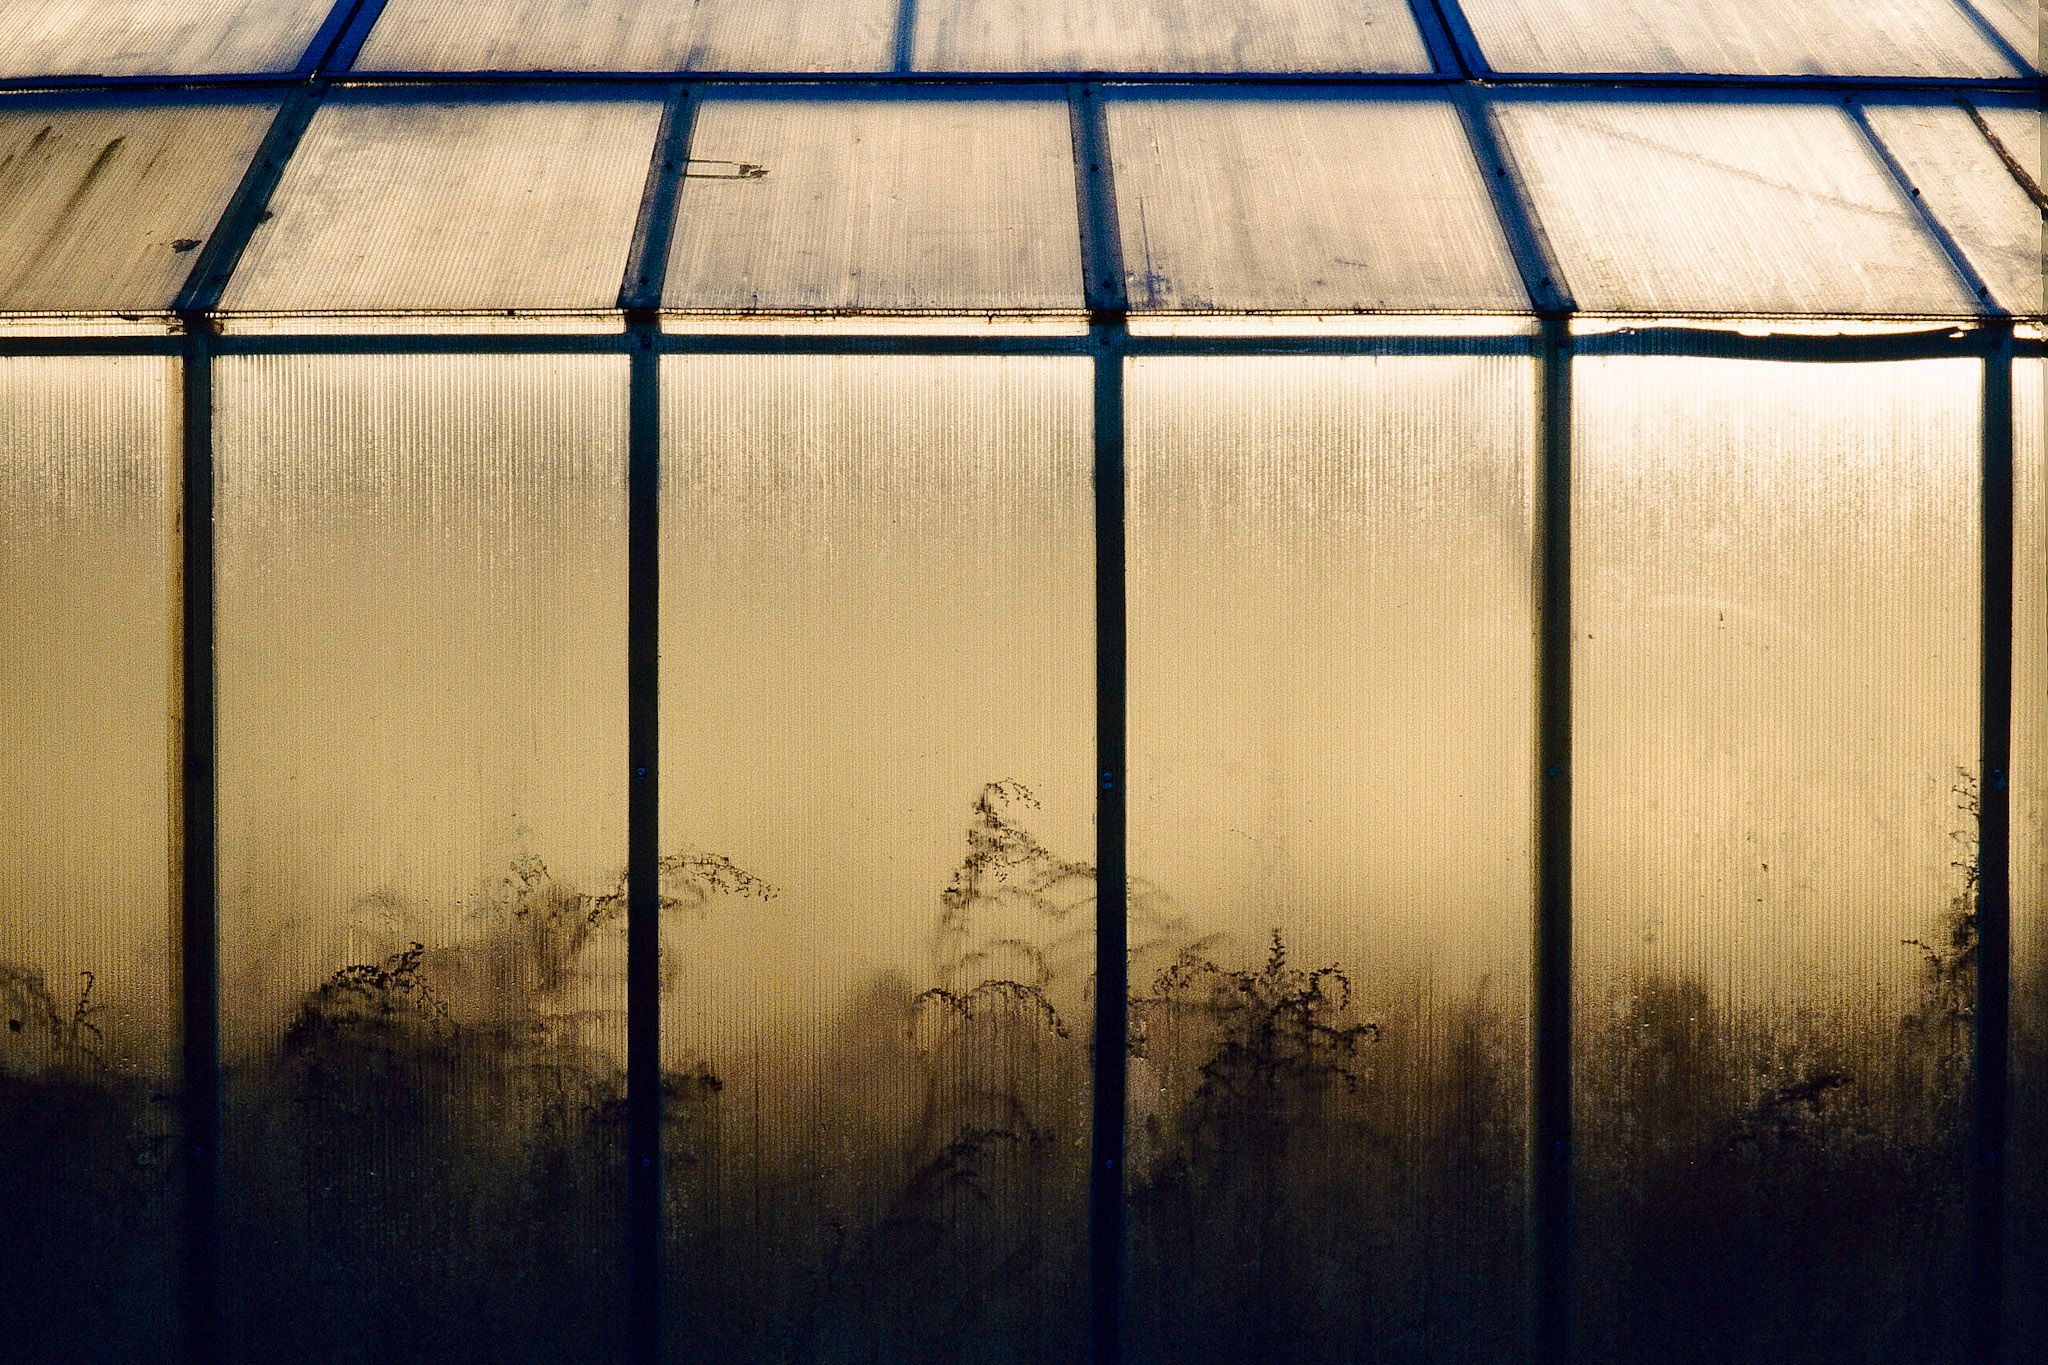
Pot of some flowers. The color rendition is once again pleasant. I particularly like the dark and deep green leaves.
I call this: On Lookout

Colors appear quite desaturated but strong if that makes sense. I do think they are accurate though. In winter when it's cloudy most things look black and white outside. Colors remind me of what I've seen from Lomography Metropolis although I've never shot one myself.
I call this: Electric Line

Same time as previous picture so same colors. I do enjoy them.
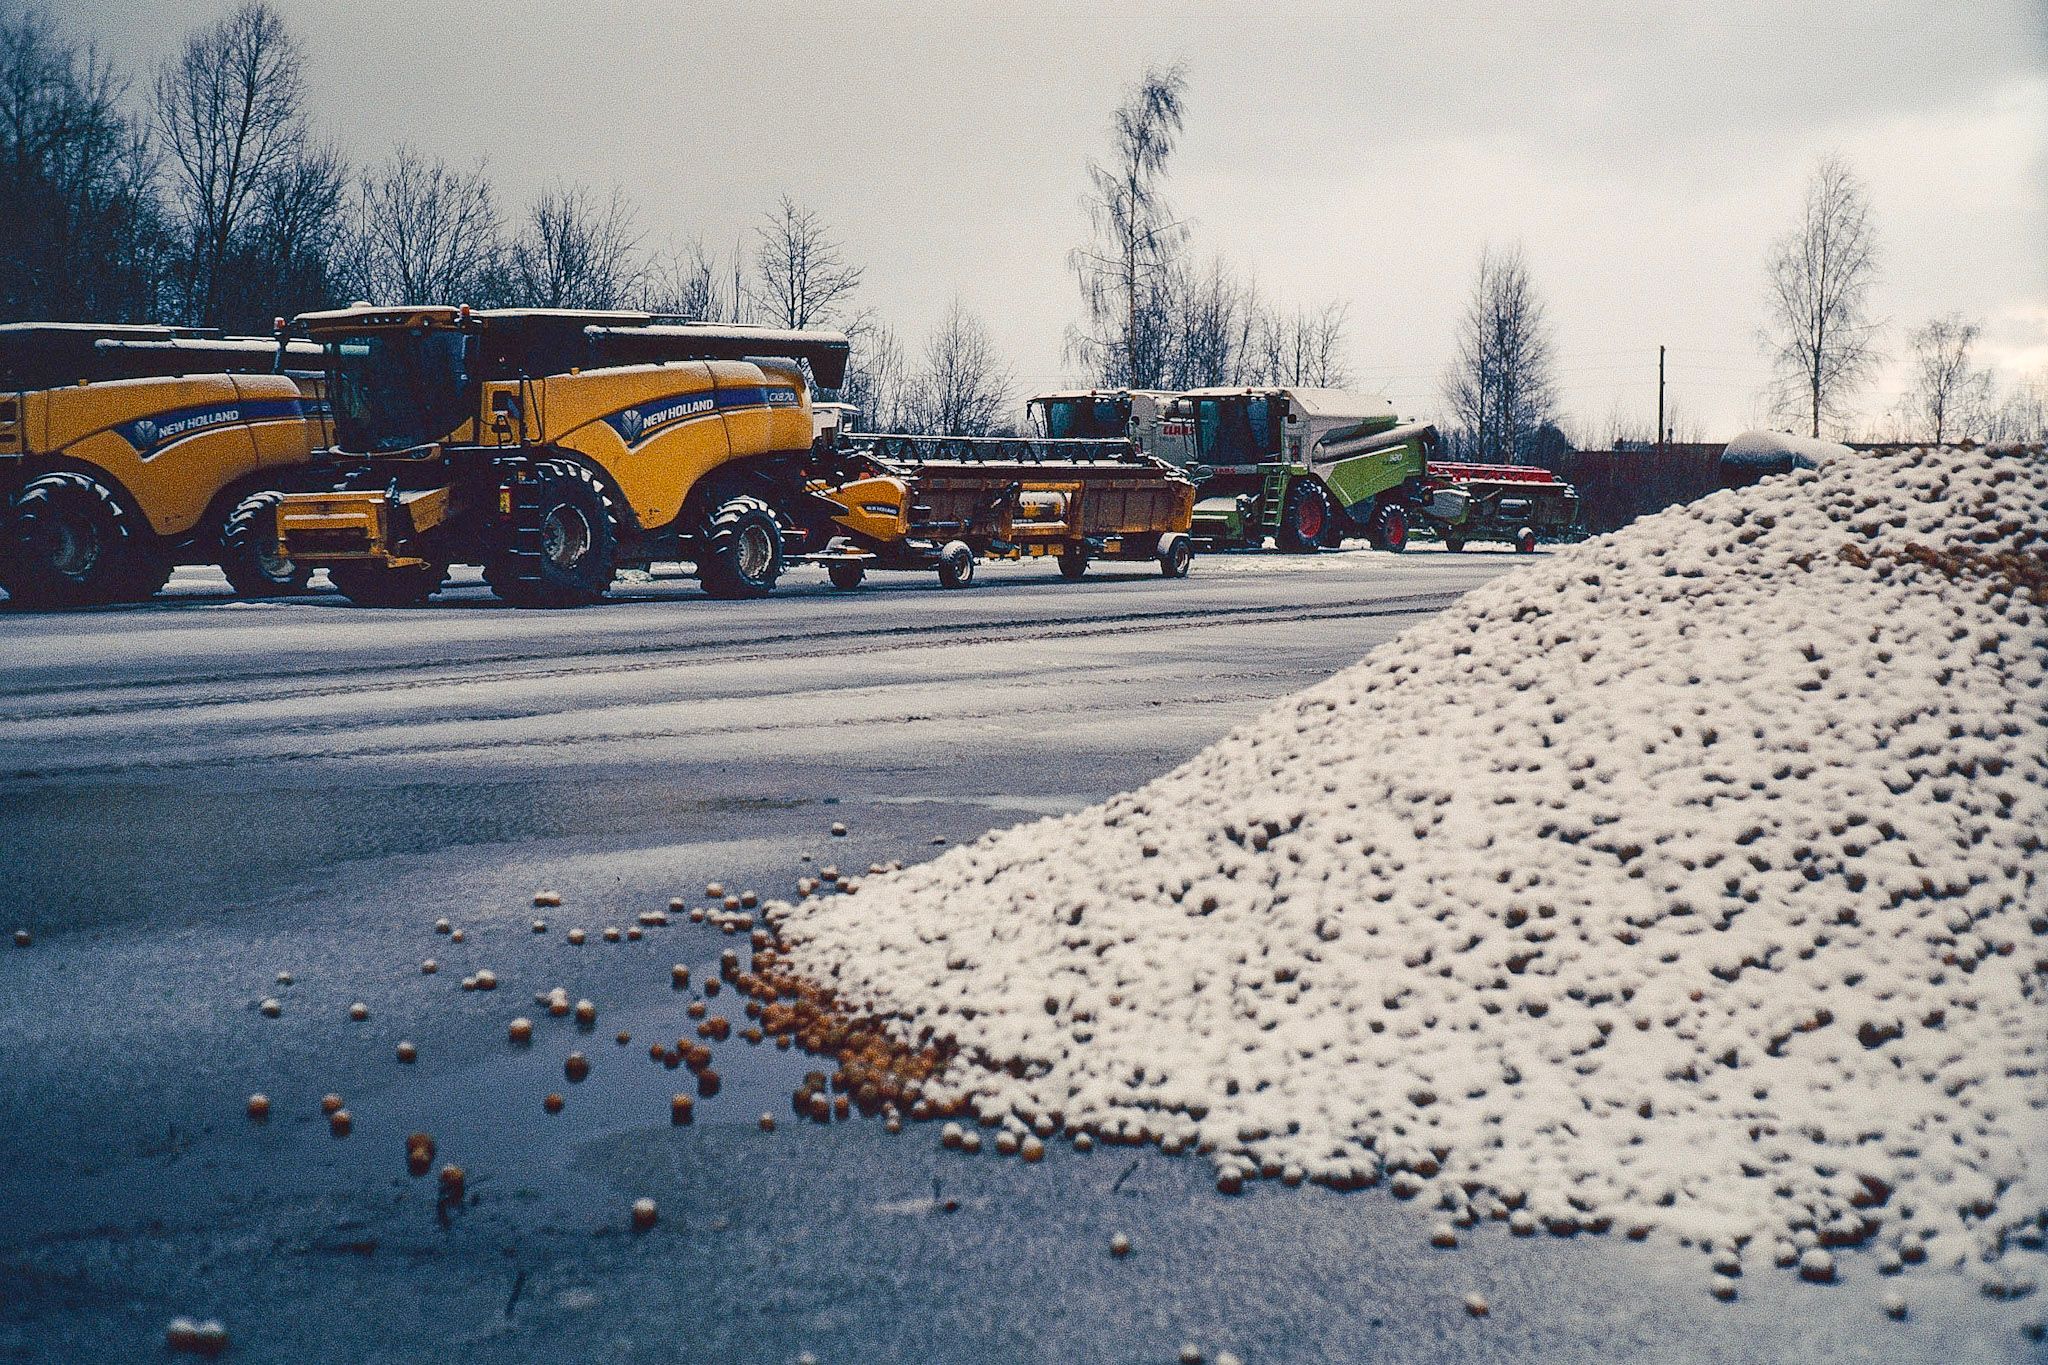
Although it's the same time as previous pictures there's a bit more color thanks to the big machinery. Still the desaturated Metropolis look though.
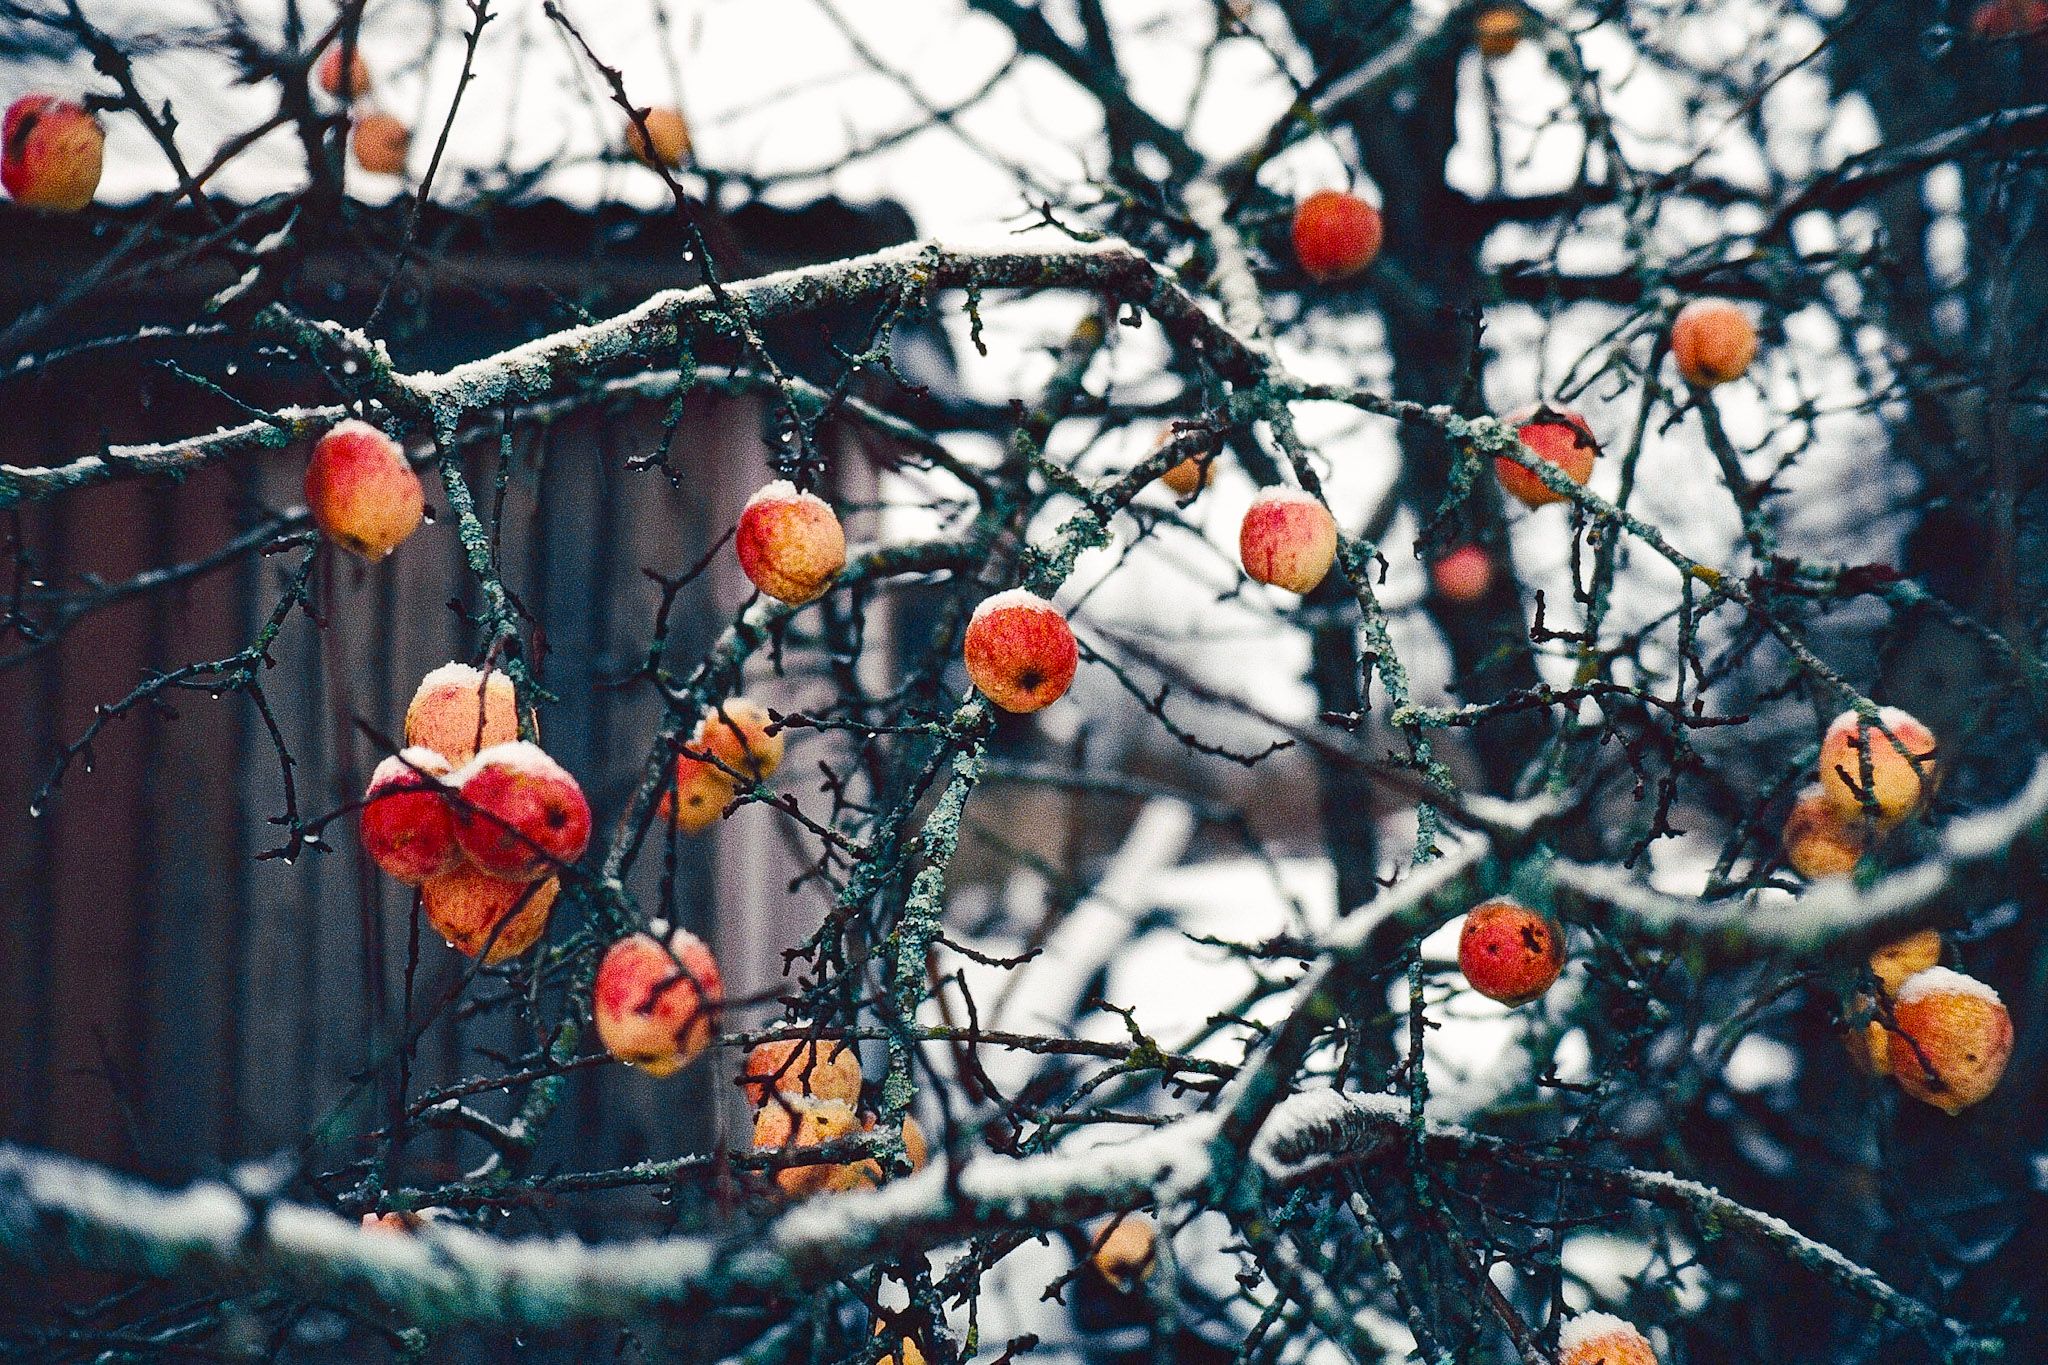
Want some juicy apples straight from the tree during winter when there's snow around? No problem. I like how the apples stand out although the picture is not very good.
I call this: Winter Apples
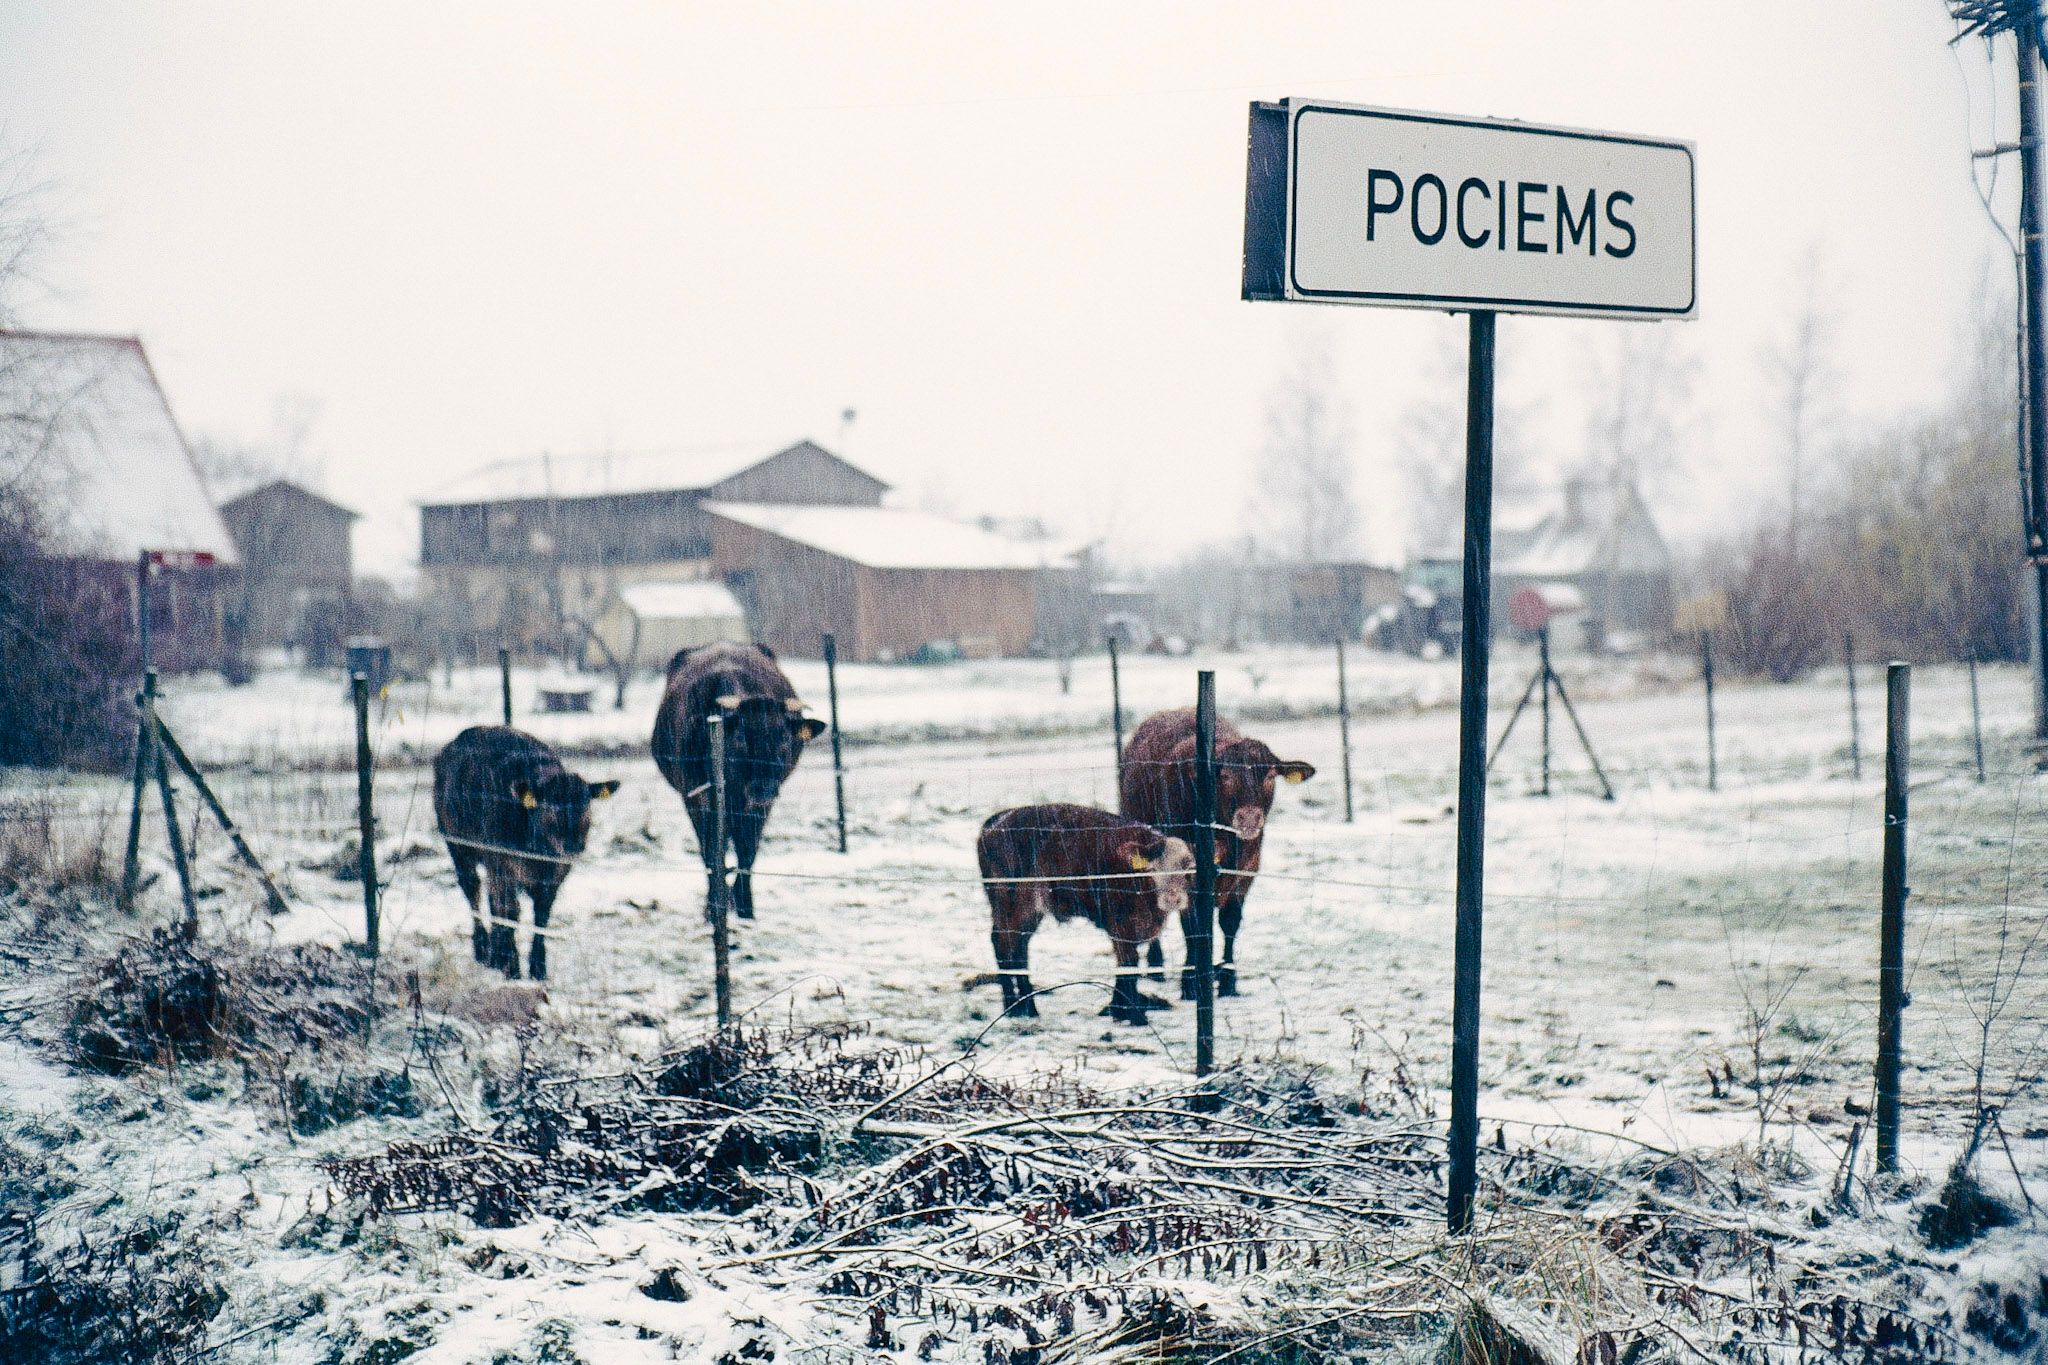
A sign and some cows. And snow. Same day. Same colors. Same life.
I call this: Pociems

Exposed for highlights to test how much is left in shadows. Not much. Just darkness.
I call this: Winning
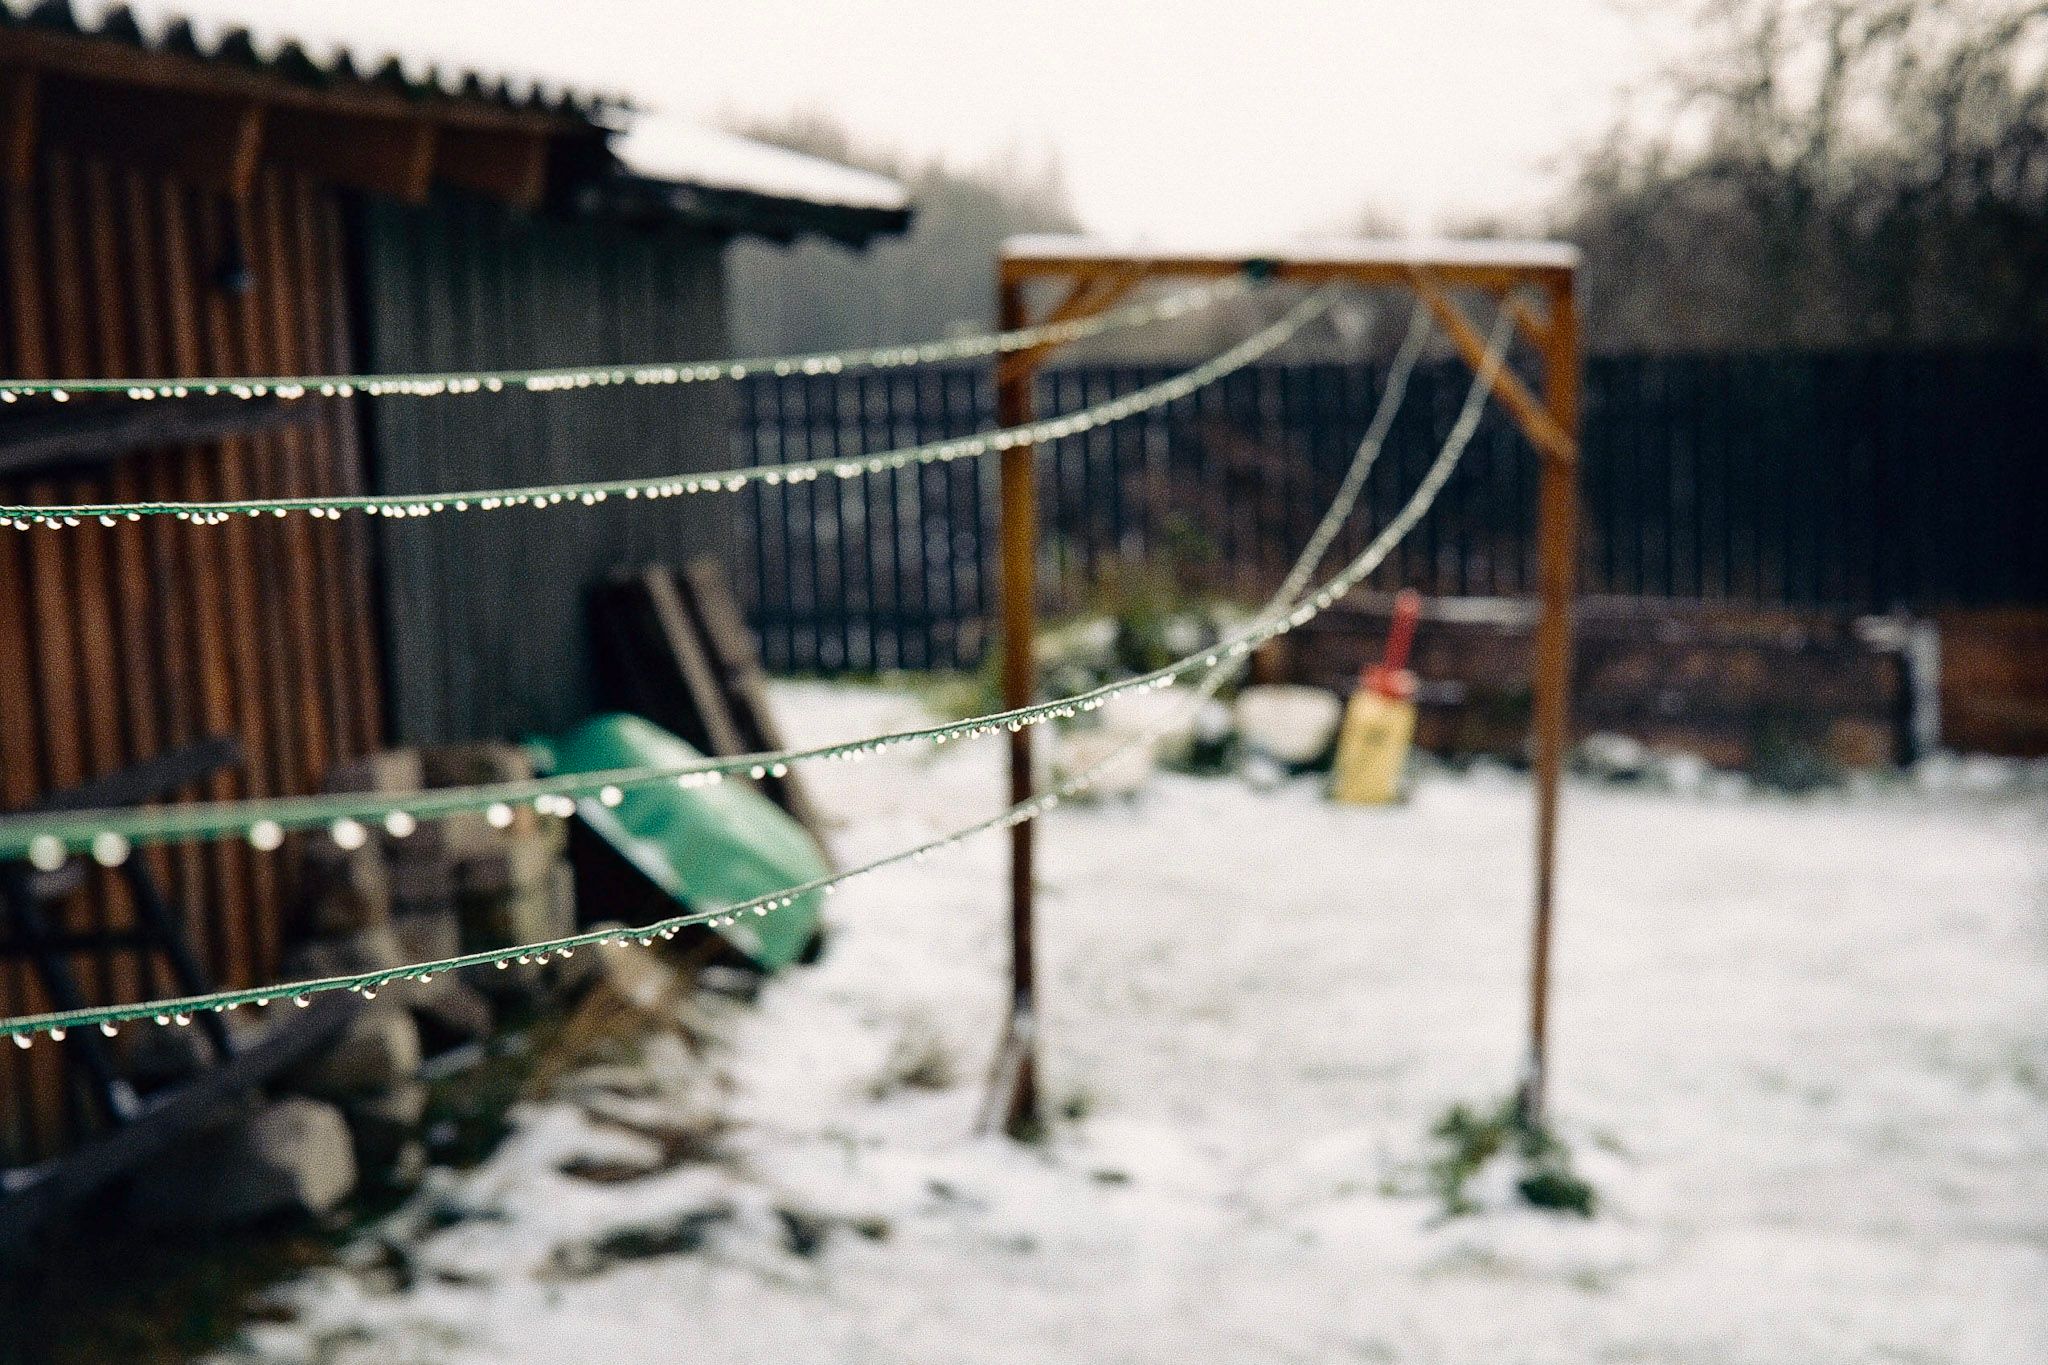
Although it's likely the same day there's a bit more color here. And quite punchy contrast.
I call this: Nothing To Dry
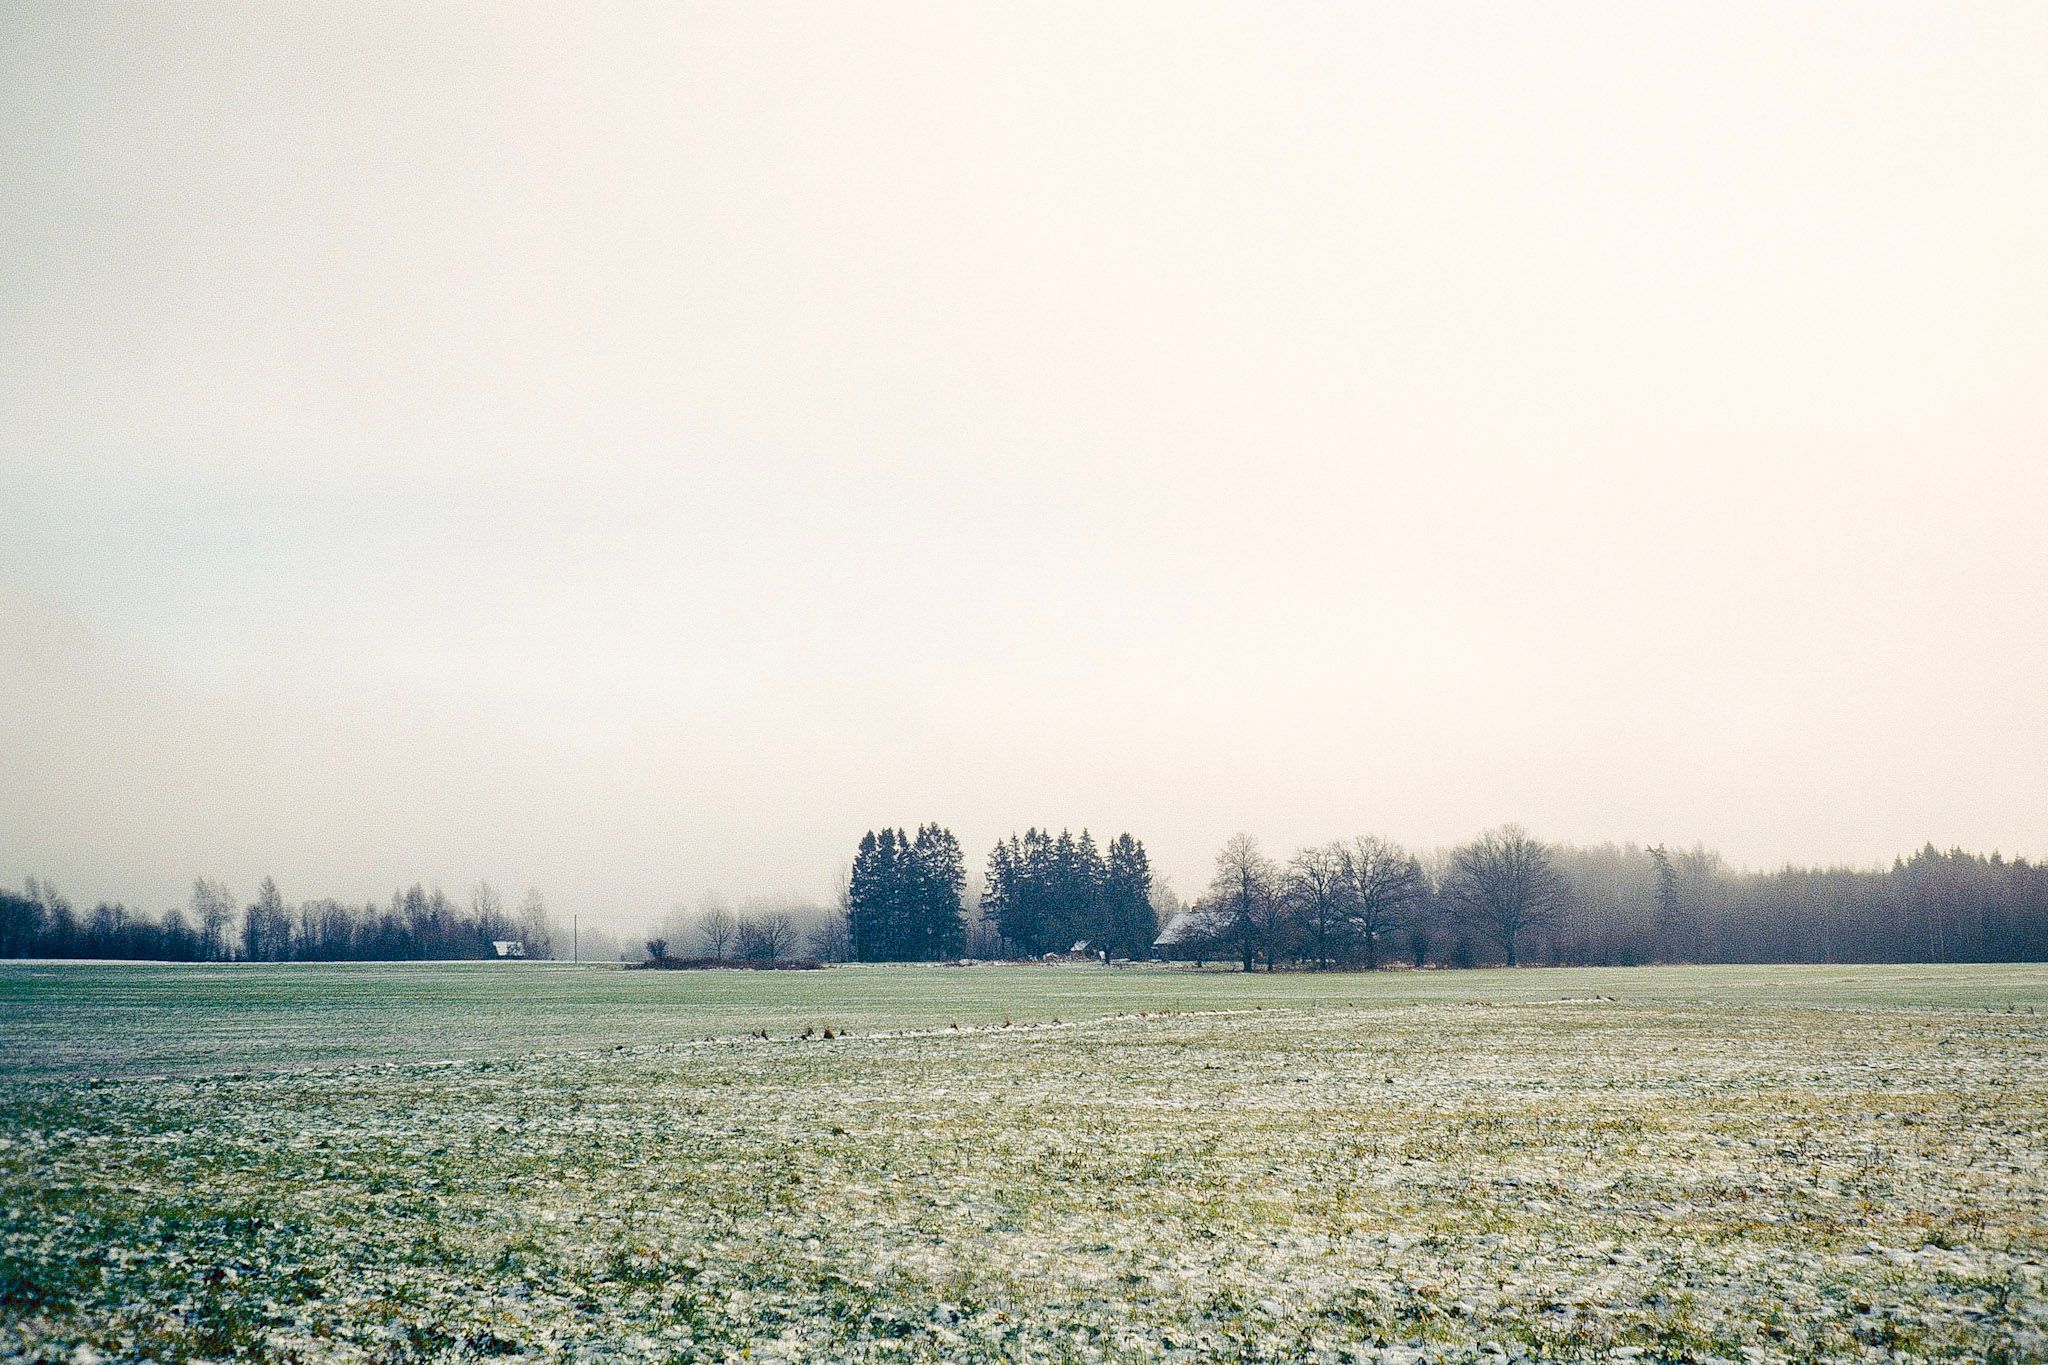
This is a different day although similar conditions. I like how crisp everything looks.
I call this: Field
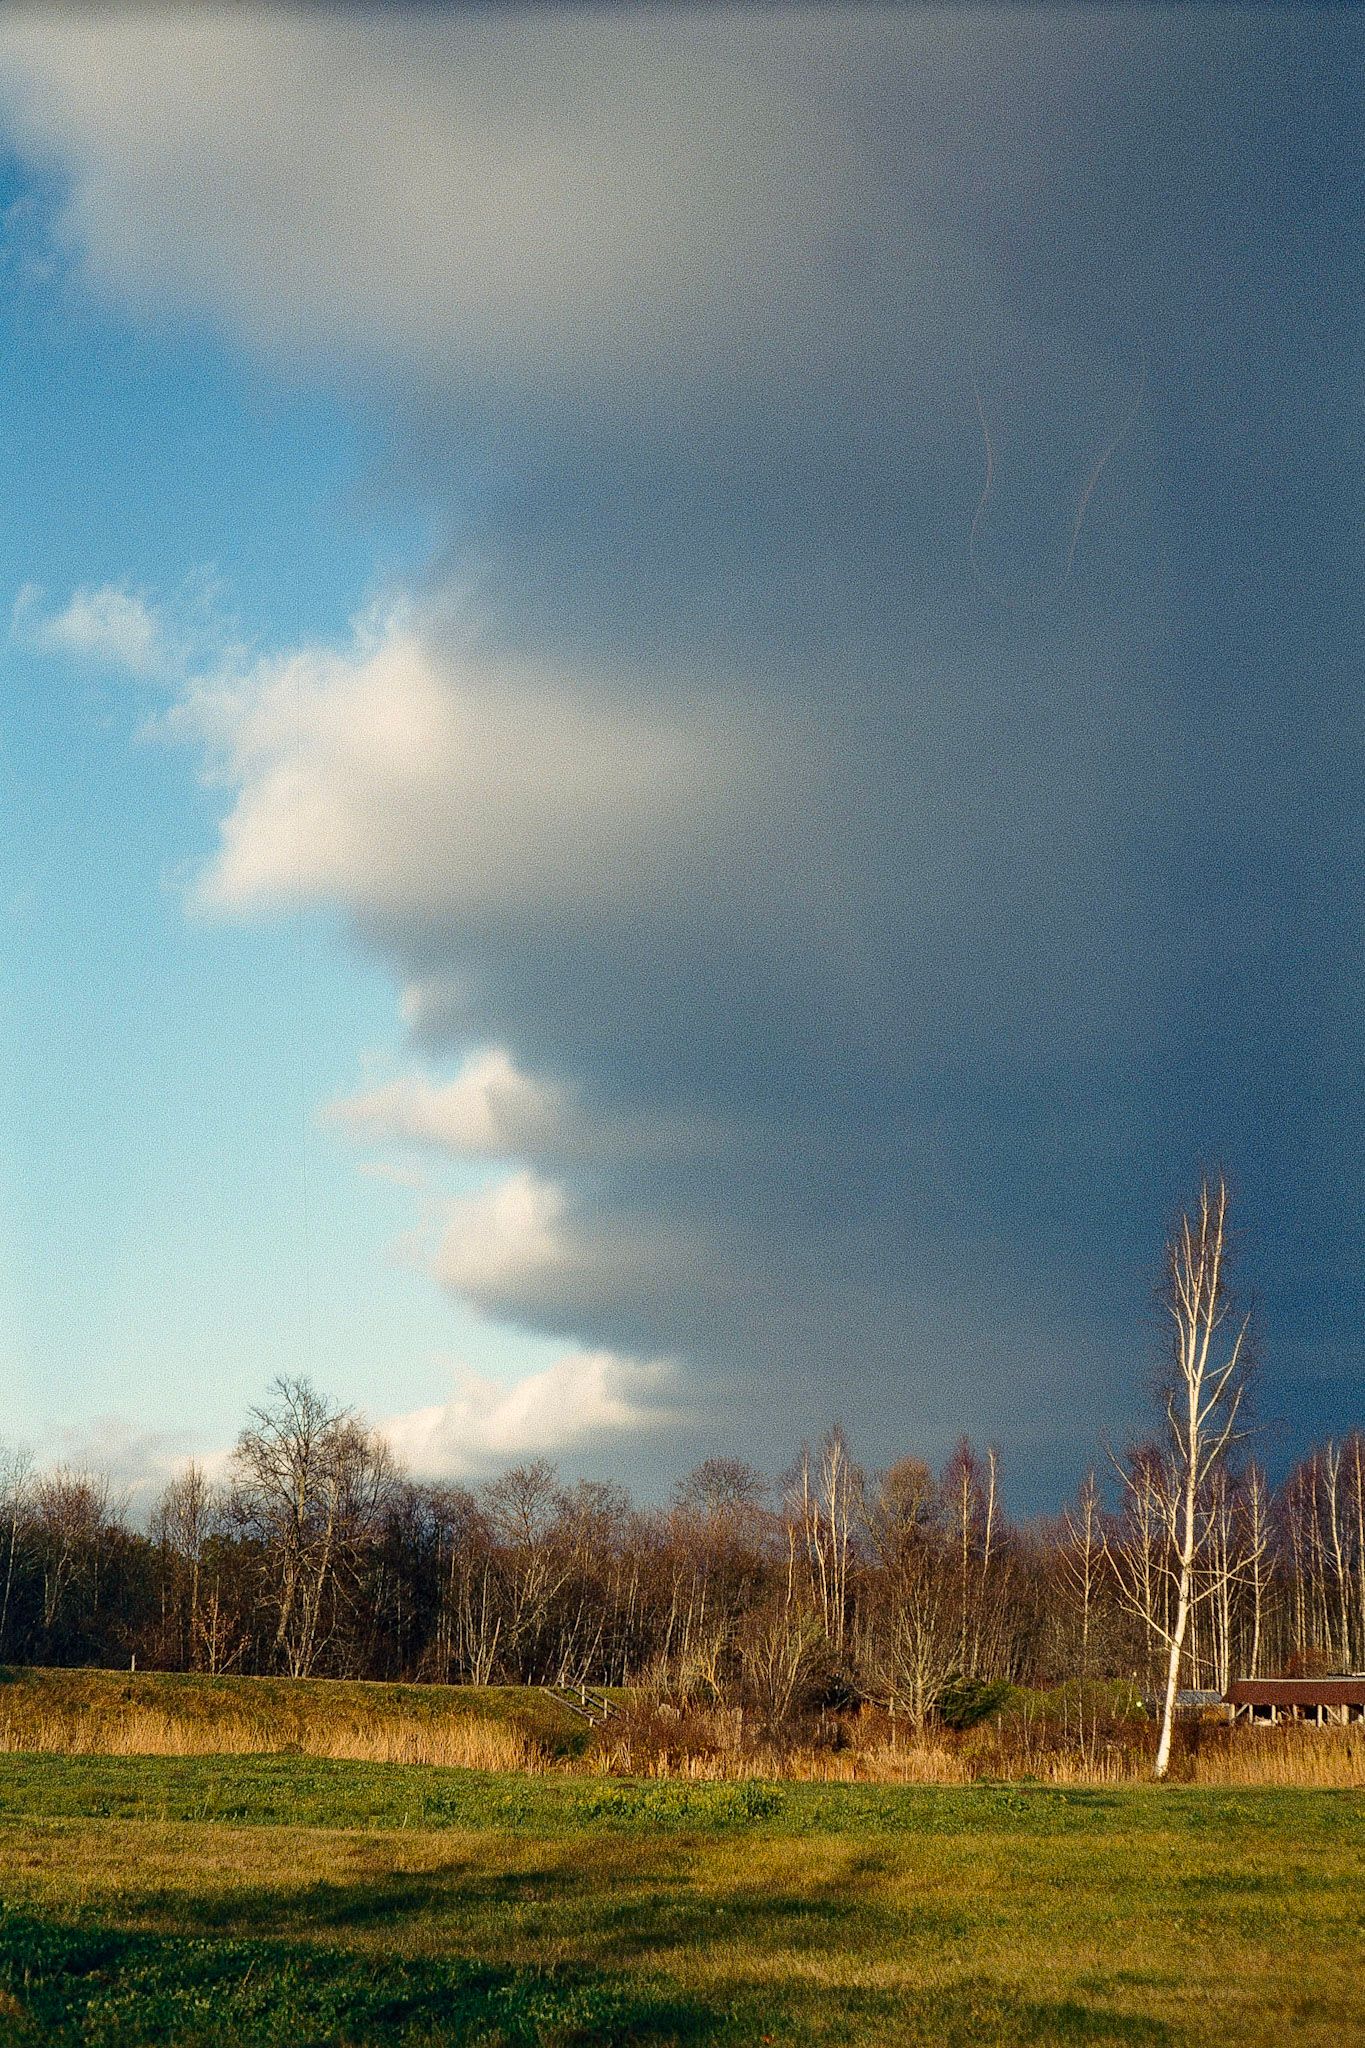
Not much to say here. Quite a lot of blues / coolness and it's already warmed slightly. Actual slides look more like this or even warmer to my eyes.
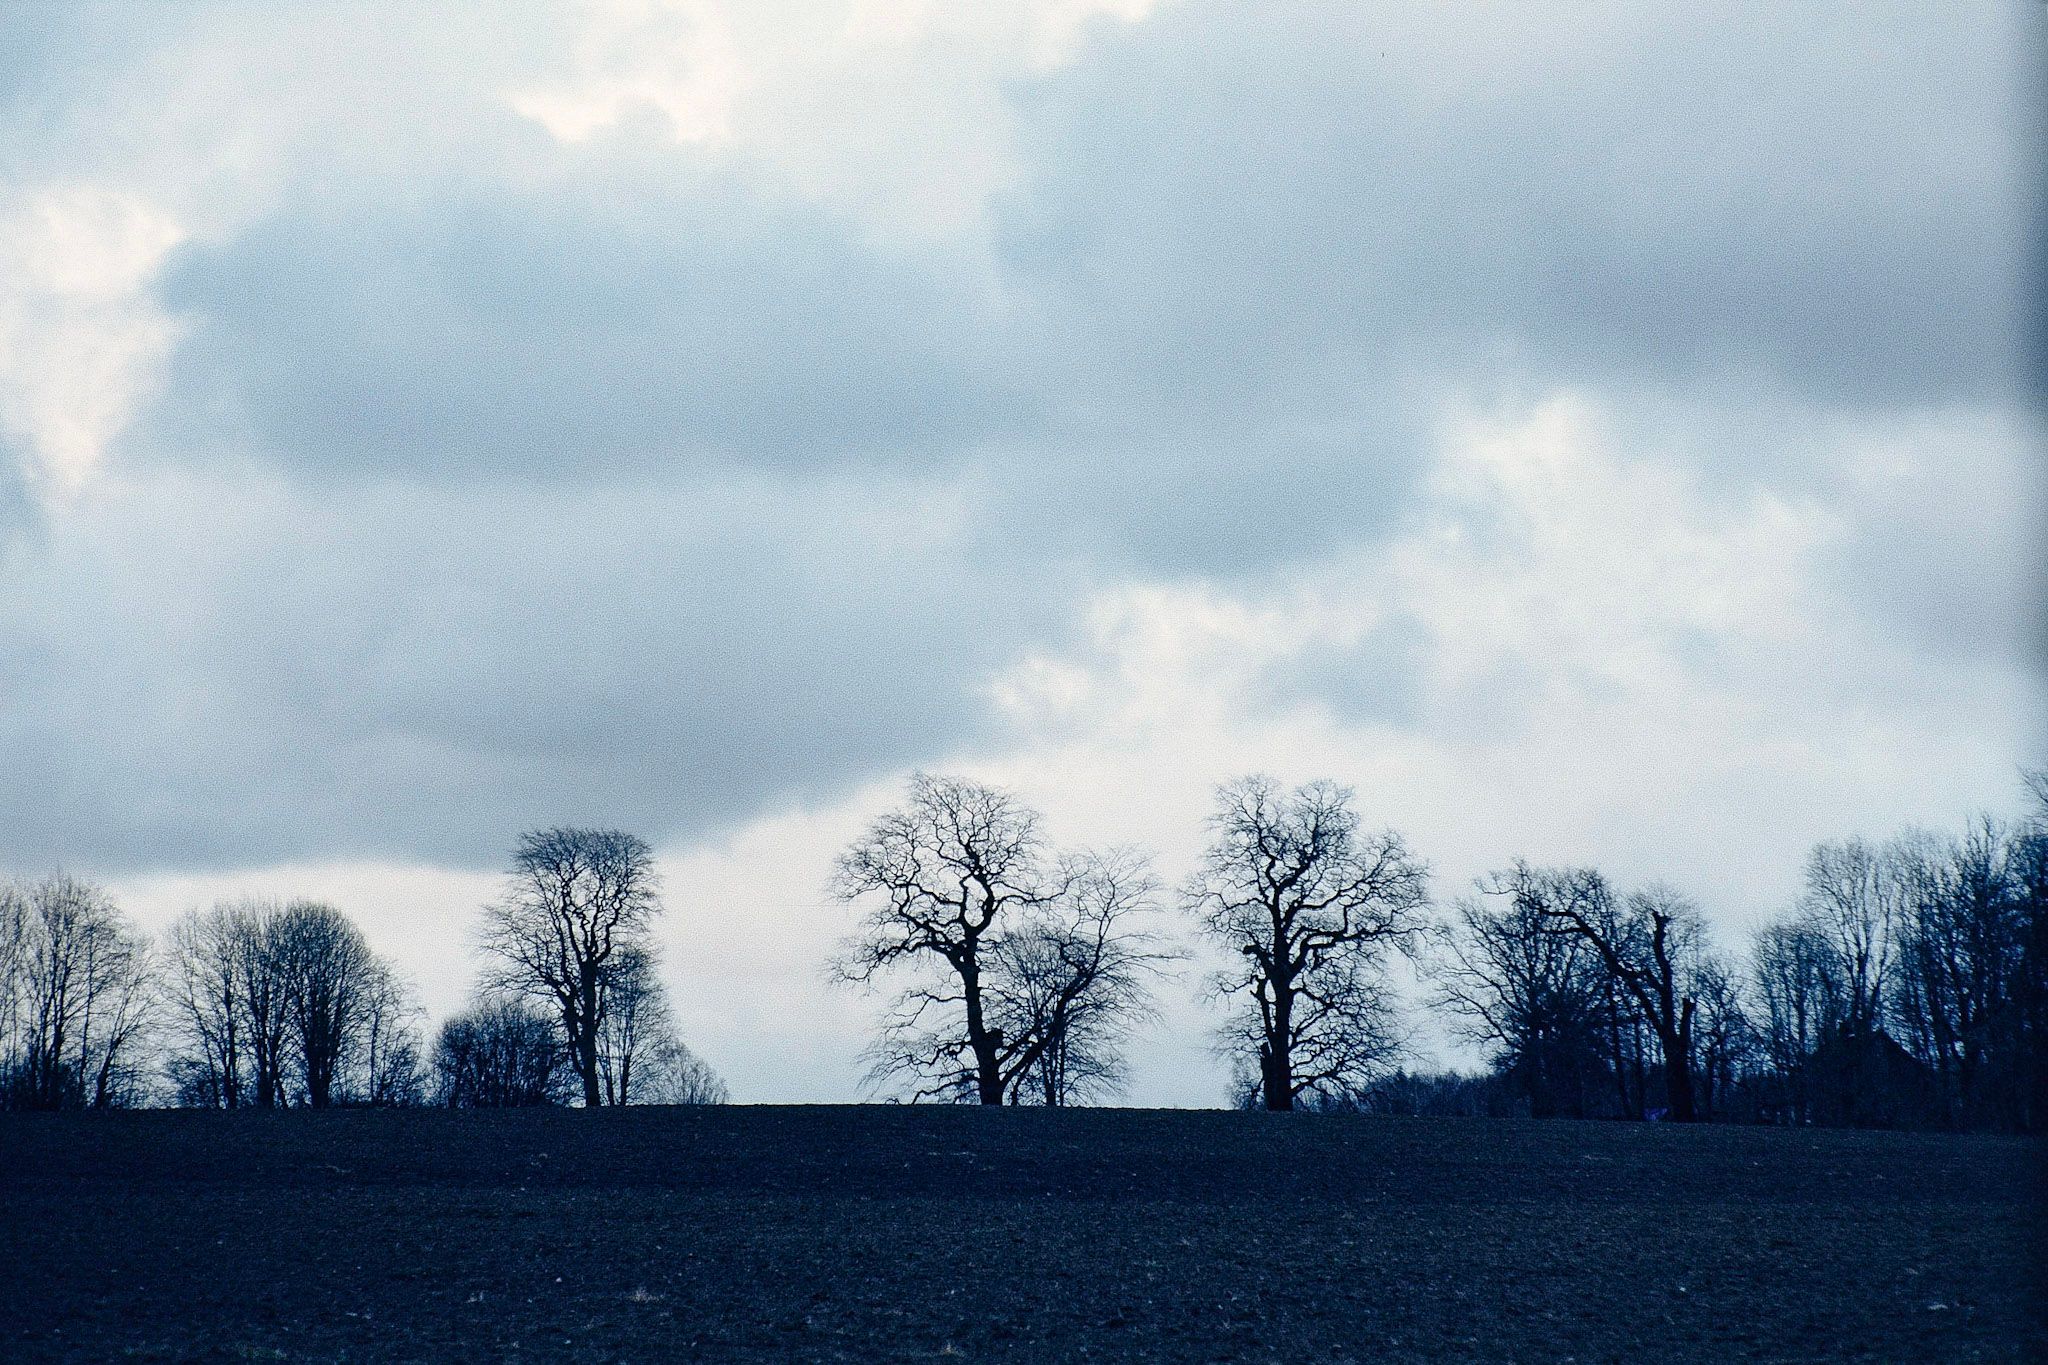
I wanted to keep some detail in the clouds which I kind of managed to do but it left everything else quite dark and blue.
I call this: Tree Line
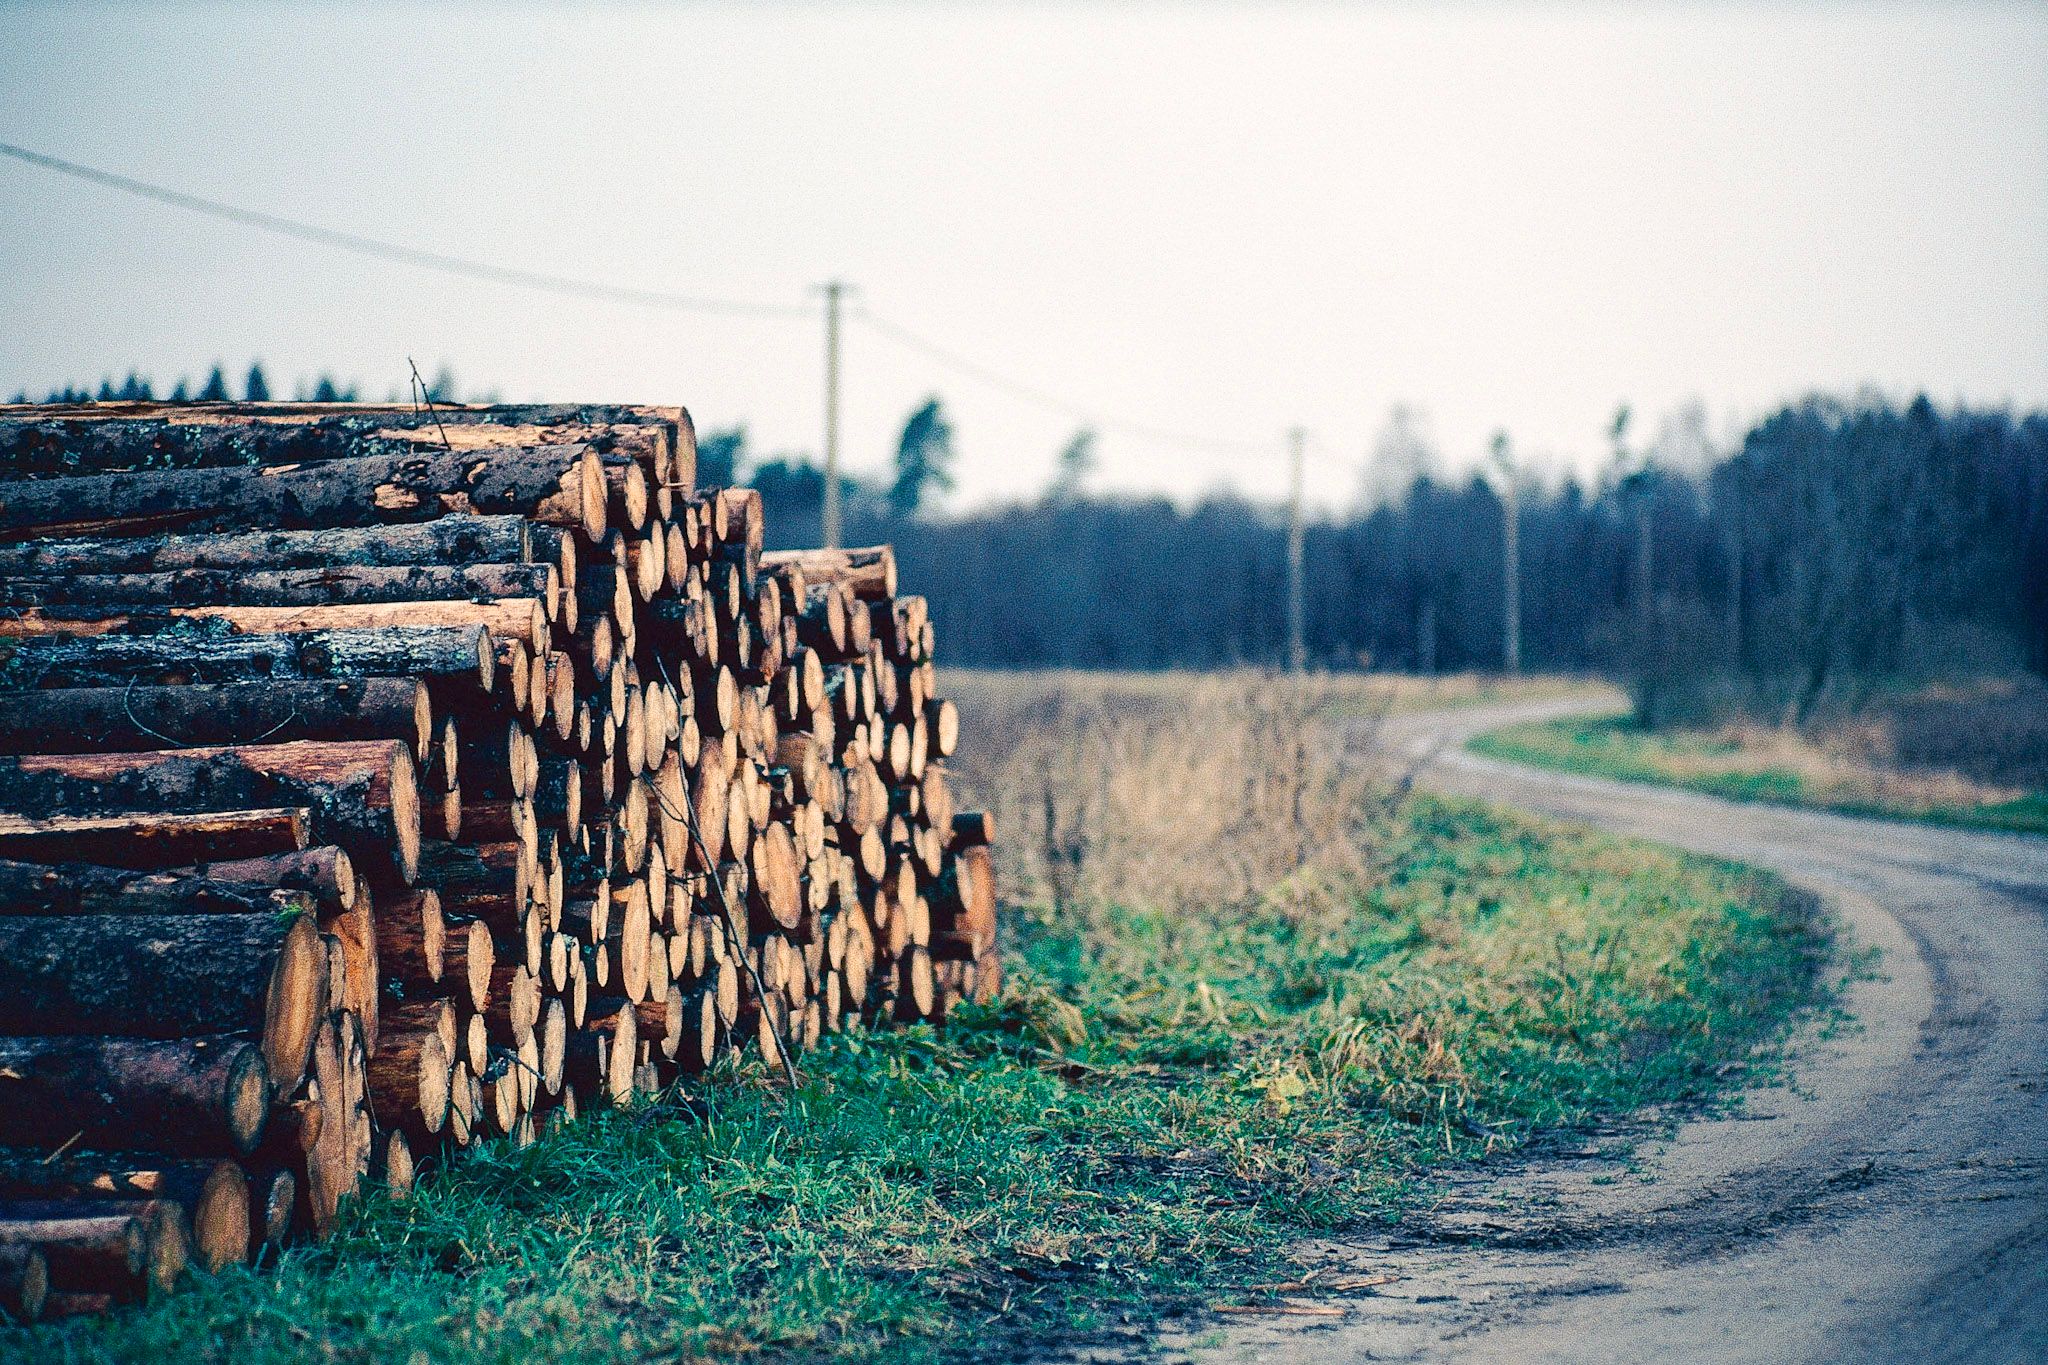
Without context or being there I might say that the white balance is too cool but it really does look like this on cloudy winter days. Scanner maybe pulls it too much into blue territory but after some tweaks I feel like it's quite accurate.
I call this: Fallen Trees
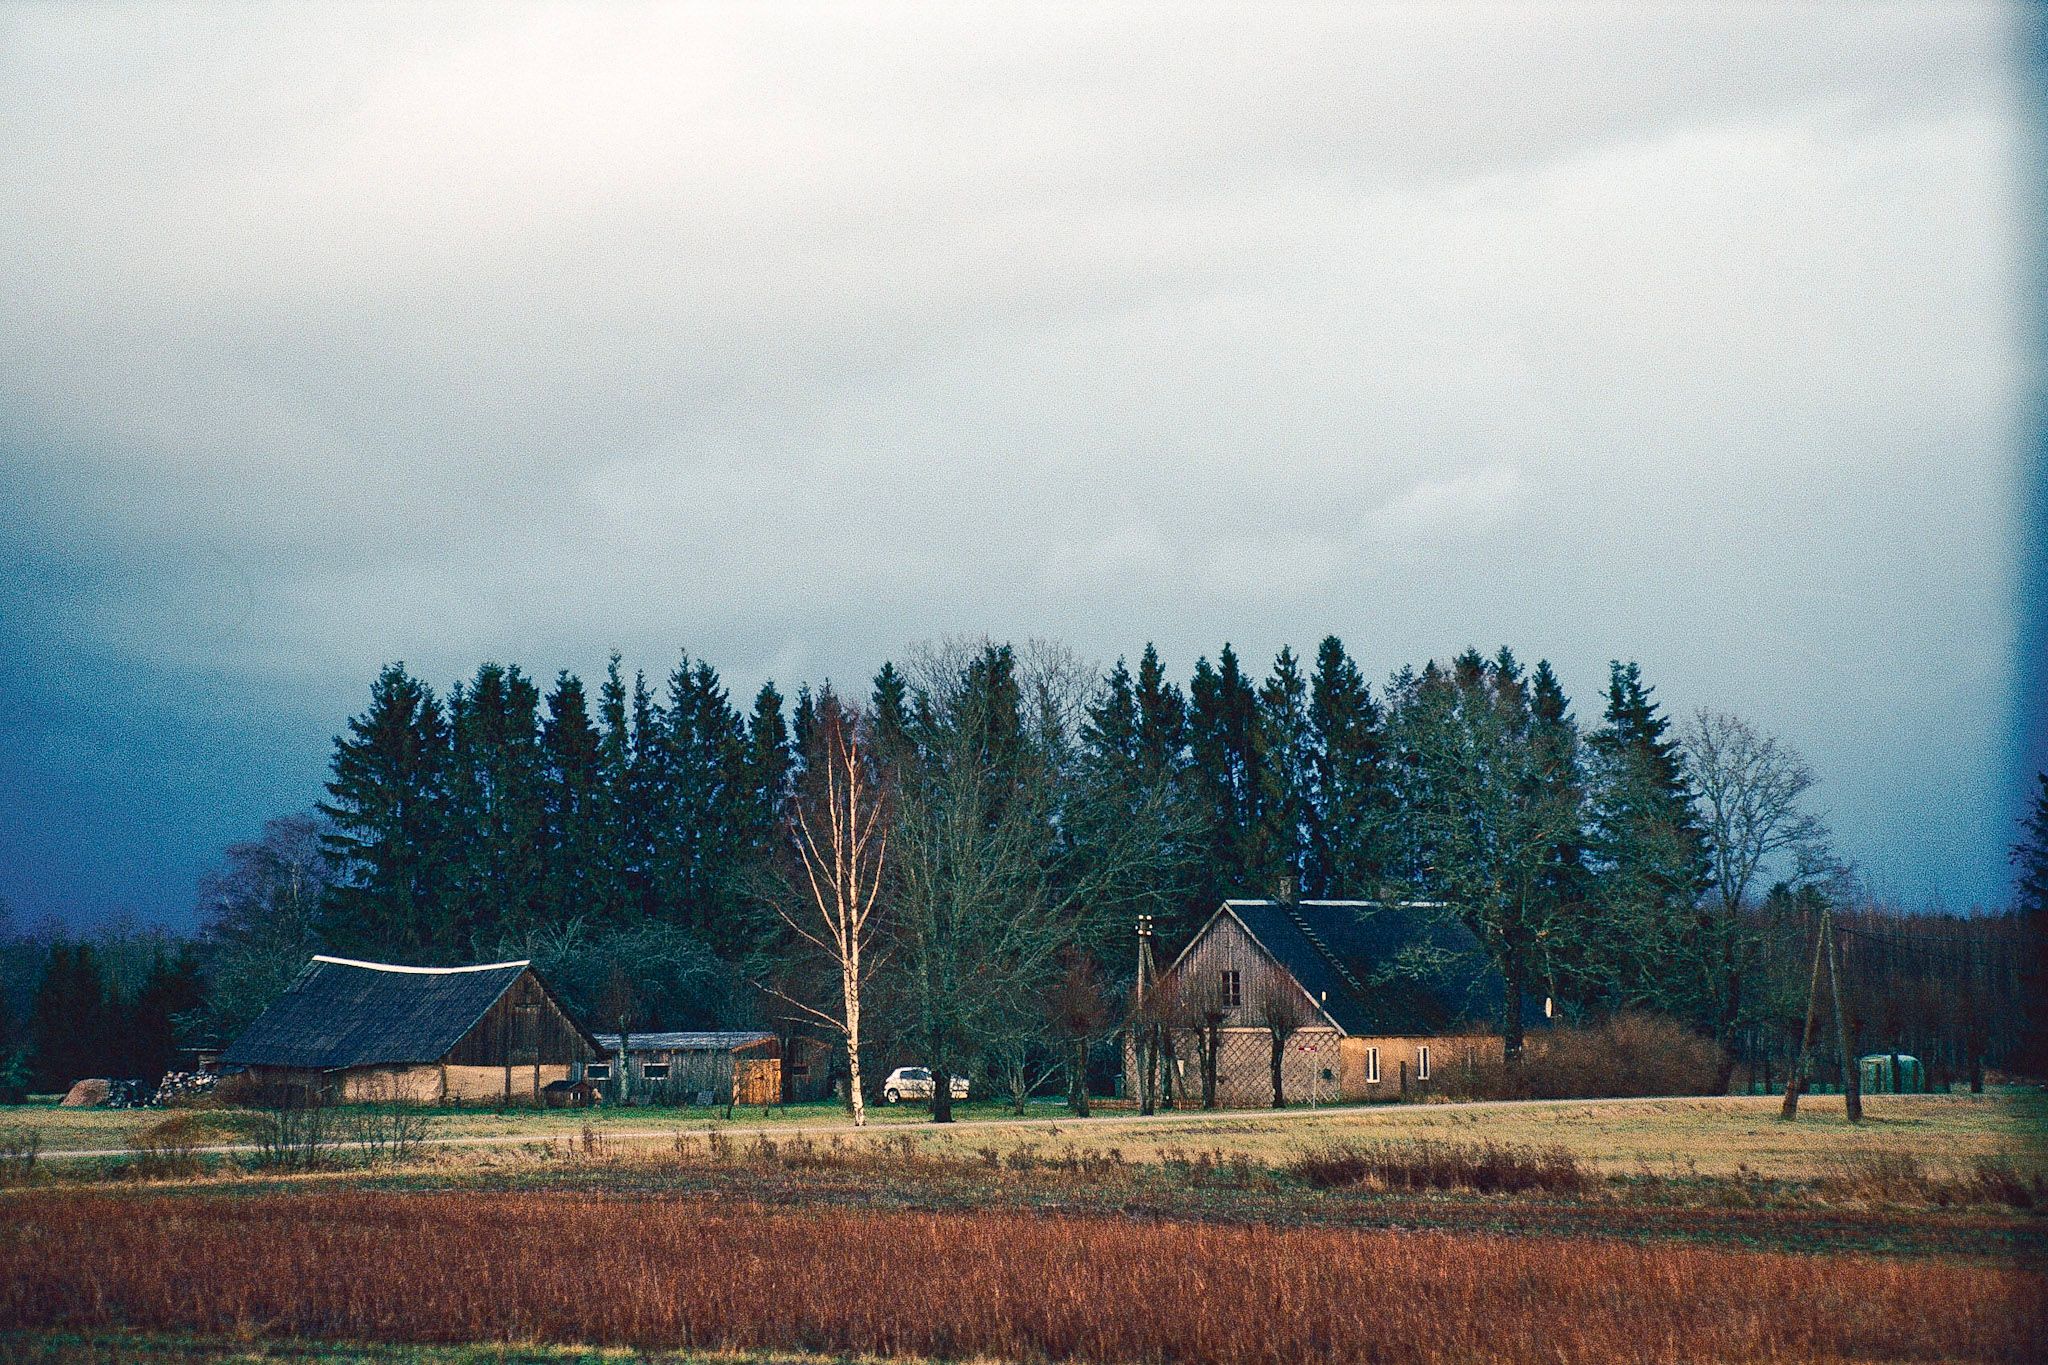
Not much to say here. I think I wanted to take this picture because of quite deep blue clouds but they aren't much in the picture so who knows.
I call this: The House

This is when some sun finally kicked through the clouds. Still not overly warm but at least some yellows are there.
I call this: Blast Through

This is more of what I would expect from normal slide film and it also proves that the development didn't desaturate the whole roll and make it cool. It just needed some sun.
I call this: Brick Wall
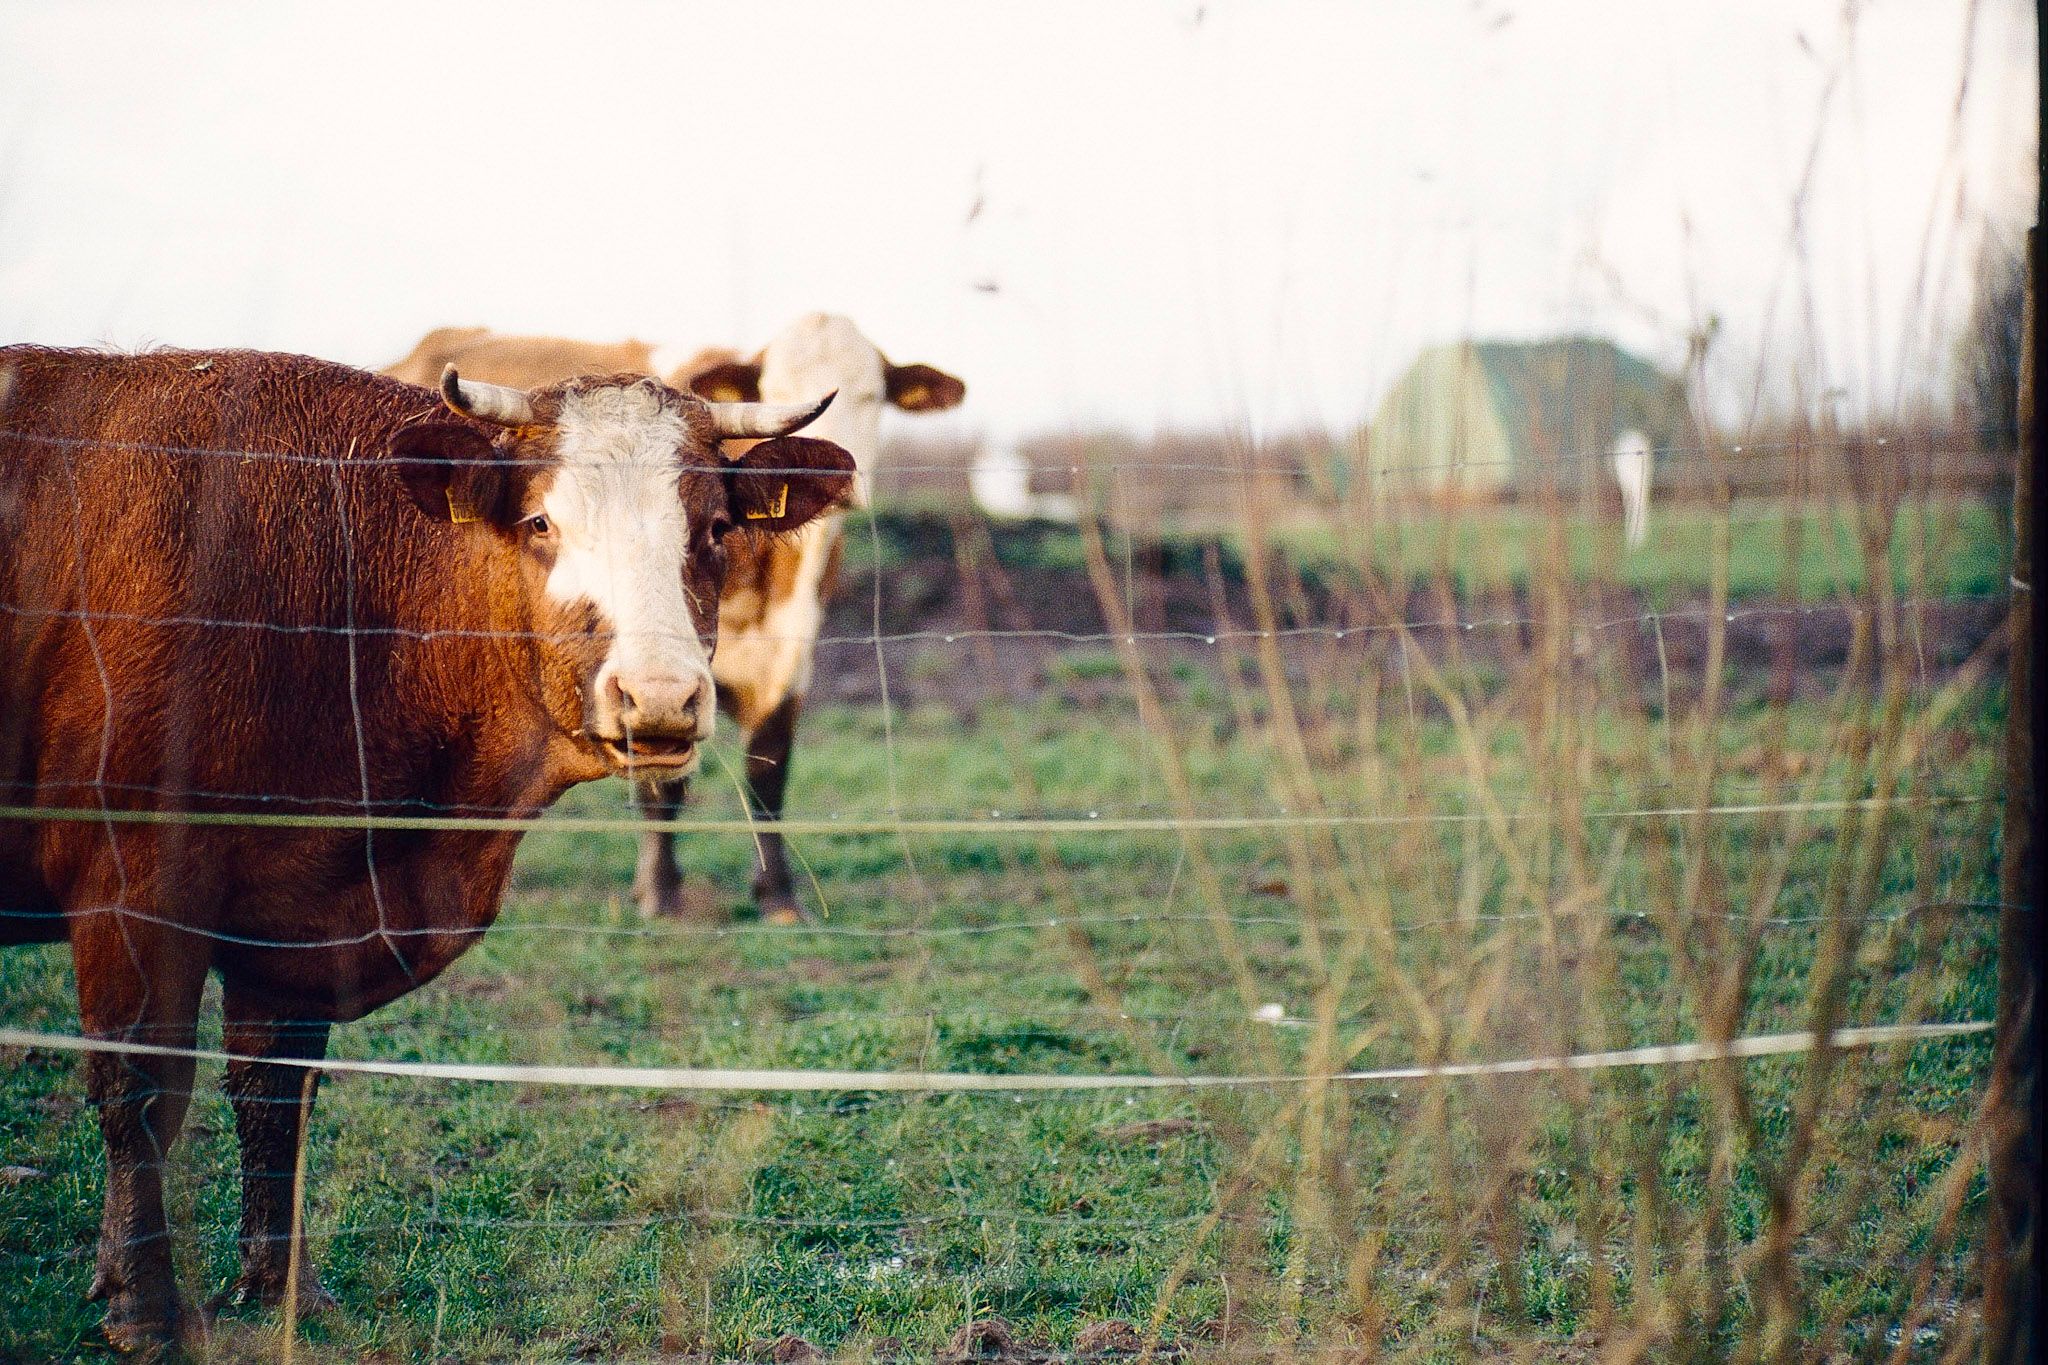
Although not fully sunny conditions there is some sun trying to get through the clouds so things look more lively and welcoming.
I call this: The Cow

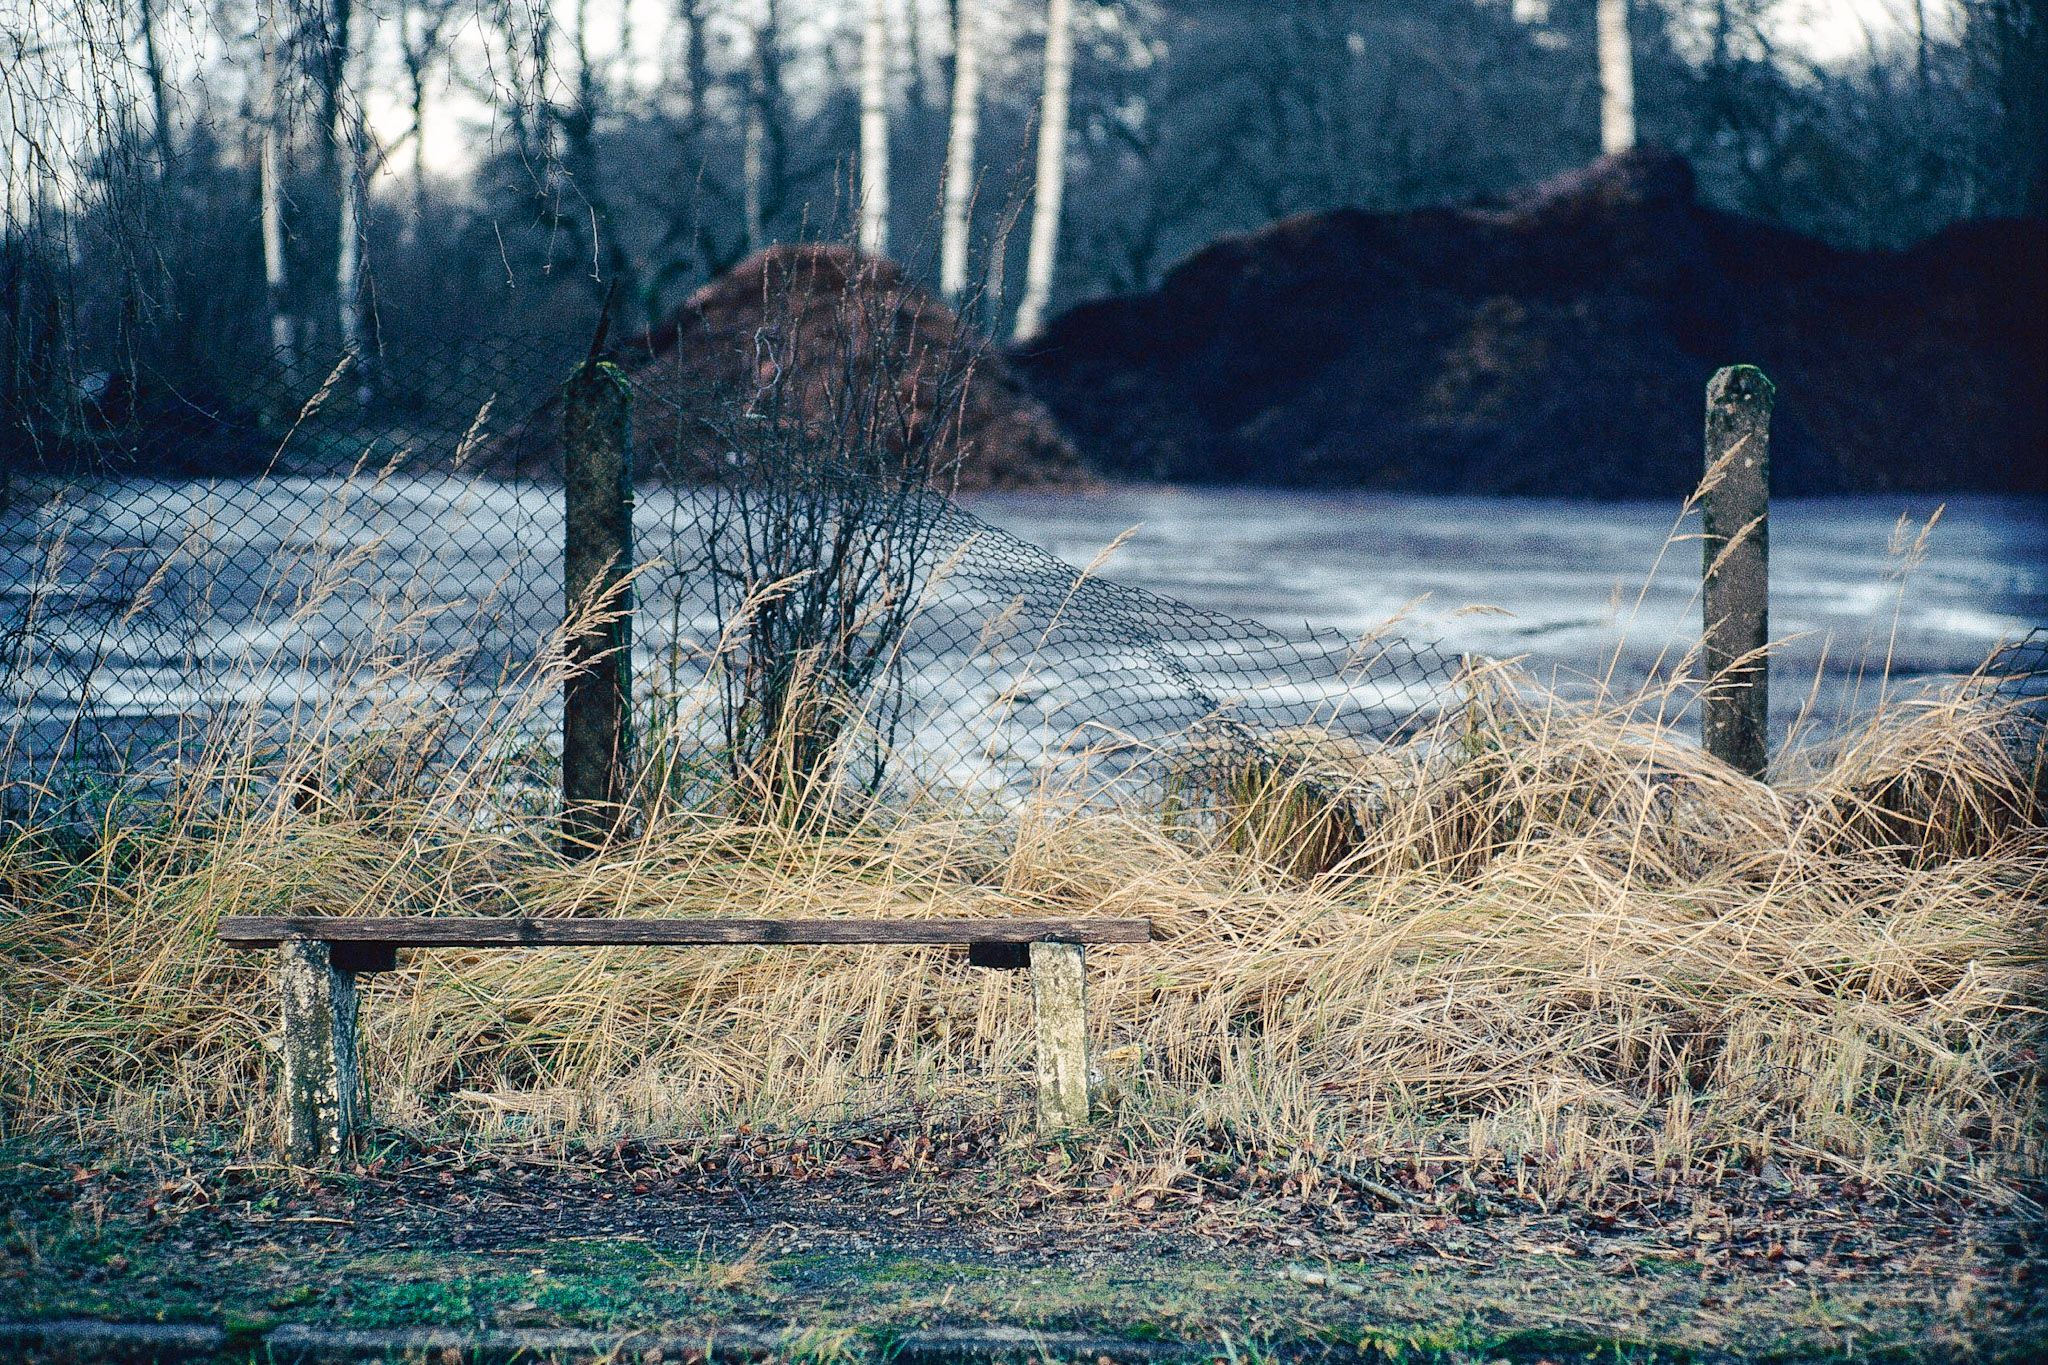
Yeah I know. There was snow before. Now there's a shot that looks like autumn. Winter is weird. Snow falls and then melts. At the time of writing everything is covered in pretty deep layer of snow again.
I call this: Leaves
This is my favourite shot from the roll. It's kind of abstract and pleasing to me for some reason.
From film perspective it's also handled well.
I call this: Shower But Not Really
Funky incoming cloud. I included this because there's a weird glow on the tree. Not sure if it's boosted because of development method or what but it's more glowy than I expected.
I call this: Glow Tree

Strong sunlight and strong contrast. I don't think the film lost anything from its normal dynamic range during the weird development process.
I call this: Green Fence
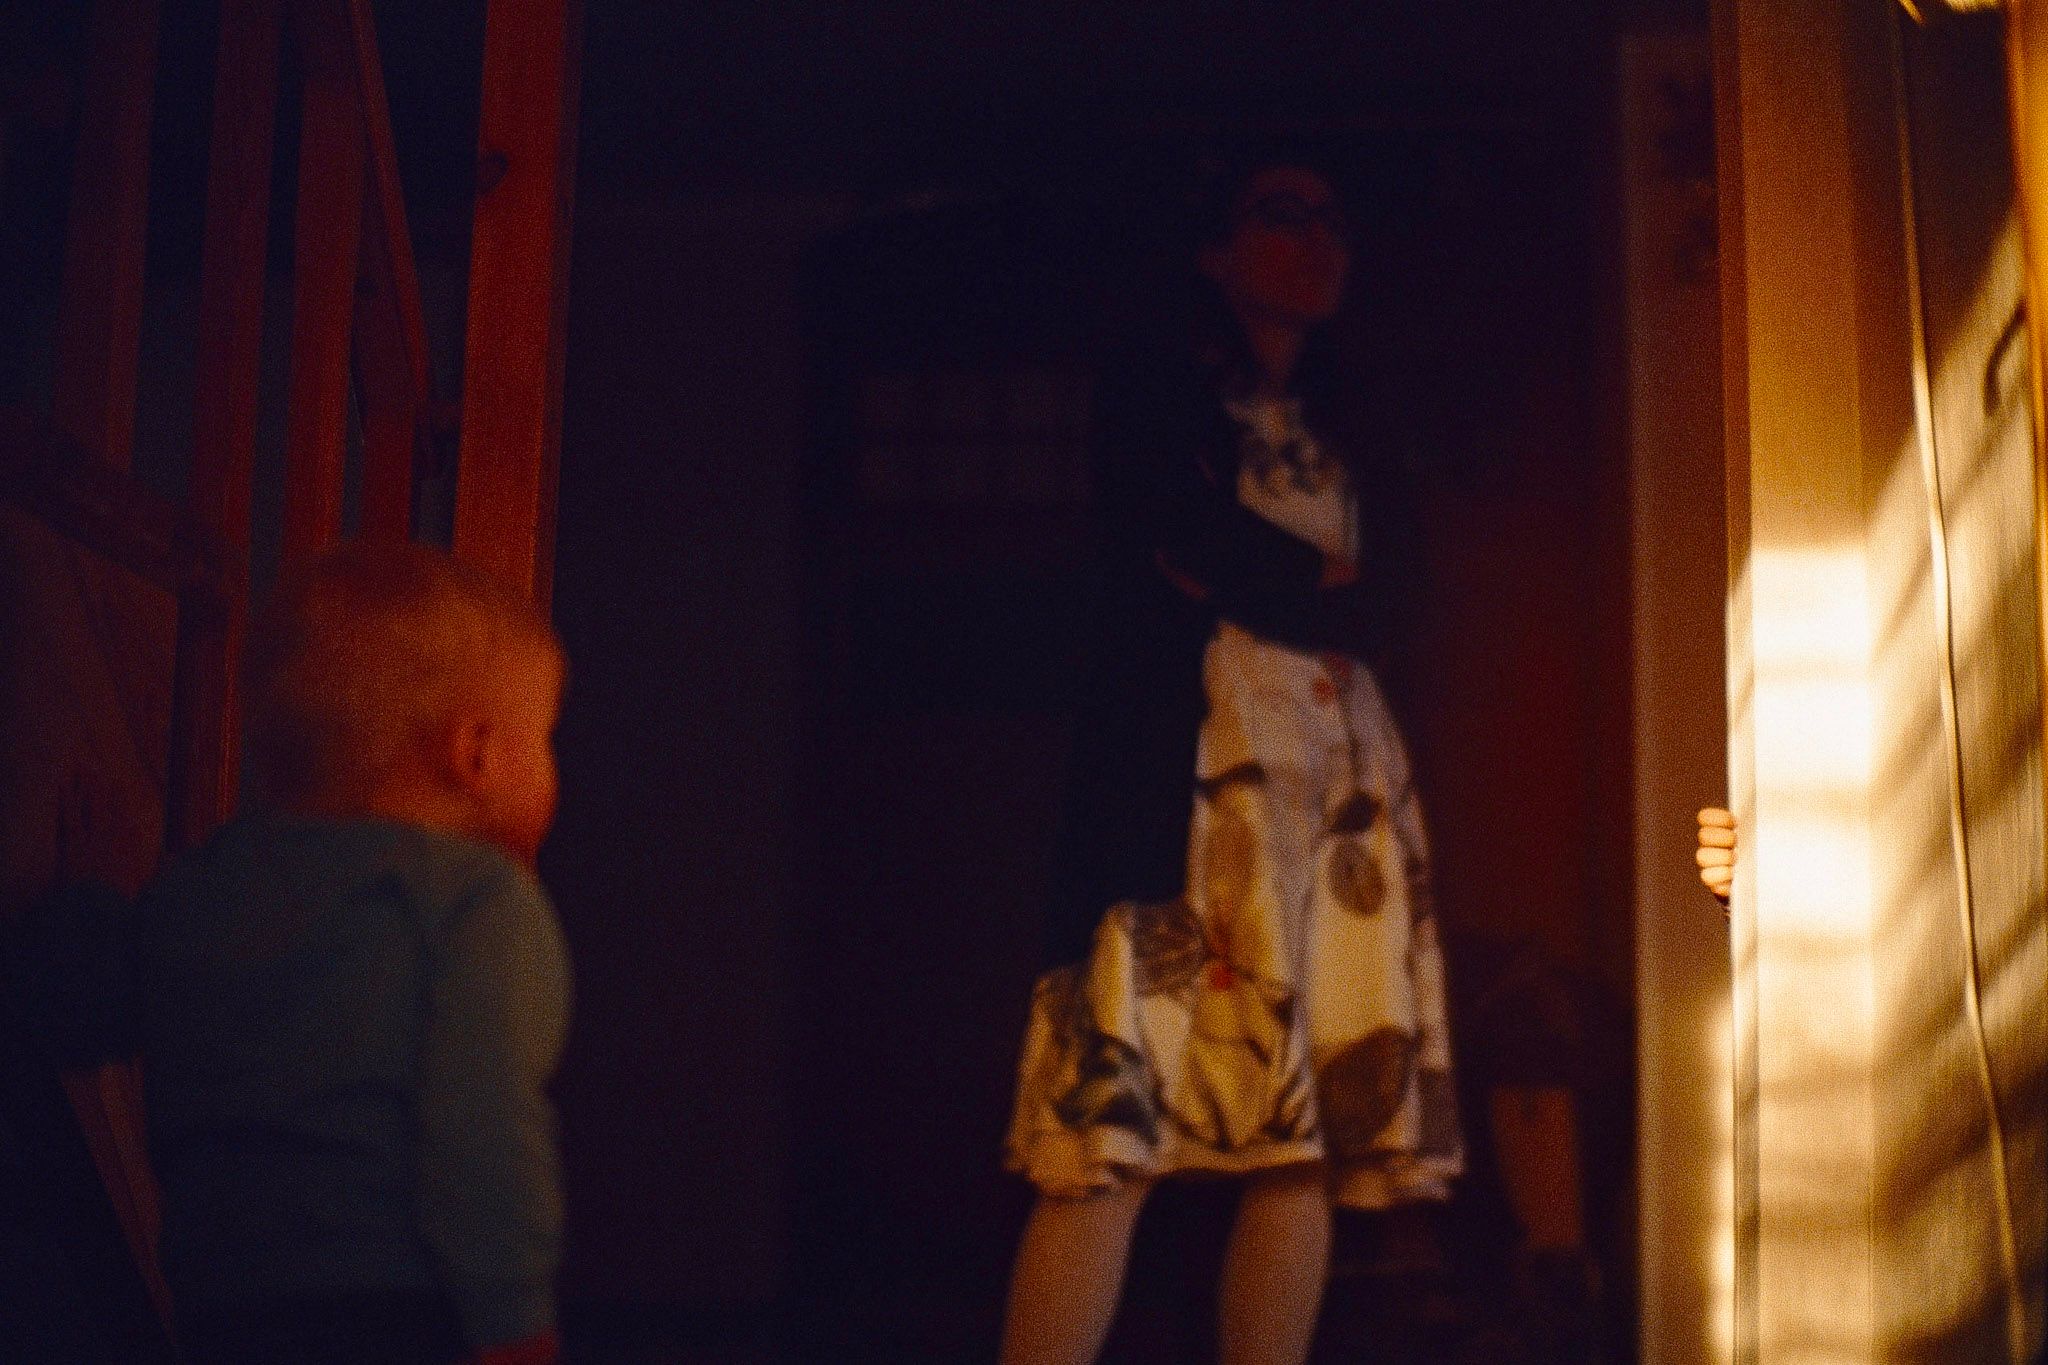
I didn't necessarily want to meter for highlights and tried to get everything more or less visible but it was a strong light so probably too much asked from the slide film. I wouldn't fault the development process.
Instead of darks leaning towards blue - they lean towards red here.
I call this: The Hand
Final Thoughts
Would I do E-B&W-41-6 slide process again? Yeah.
I wouldn't want to do it often because honestly - it's way too time consuming. My pretty used up C-41 kit didn't help with the 30 minute blix time but all together the development with the fun spooling of wet film and chemical heating was probably slightly more than an hour.
I want to try it with 120 film next and different film stock. Mainly because I want to see 120 film as slides. With 6x9 I could even use the positives to put up as pictures on wall!
It also made me want to try native E-6 process. Maybe I'll try to shoot more slide film some time this year. Collect 10 or so rolls and then develop them all one by one with an E-6 kit so that I don't have to worry about chemicals expiring.
If you have some free time, don't have E-6 chemicals and are willing to potentially lose your taken pictures I would definitely go for developing slide film using E-B&W-41-6 slide process. If you have E-6 chemicals then I see no point in going E-B&W-41-6 slide process route because the best case scenario is getting the same results as the E-6 process.